> For the complete documentation index, see [llms.txt](https://documentation.astera.com/llms.txt). Markdown versions of documentation pages are available by appending `.md` to page URLs; this page is available as [Markdown](https://documentation.astera.com/astera-data-stack-v10/setting-up/setting-up-r-in-astera.md).
# Setting Up R in Astera
R is a programming language needed to run some of the data science related objects in Astera, such as objects in the *Testing and Diagnostics* and *Analytical Models* sections of the Toolbox.
The version 4.0.2 of R is the most compatible with the Astera Client.
### Steps to Install and Connect with R.4.0.2
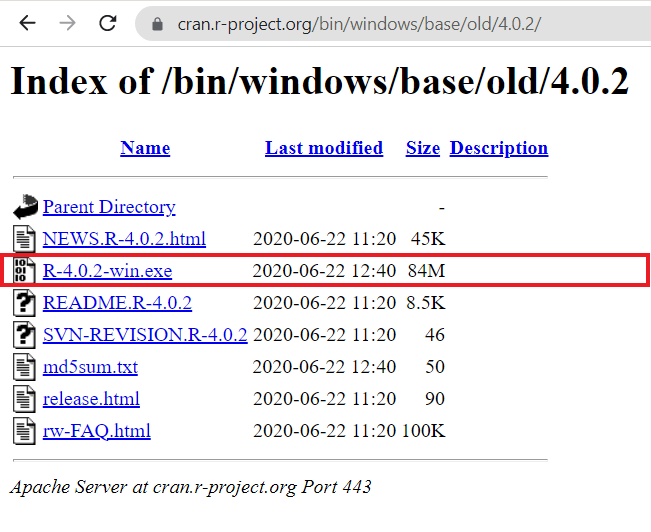
1\. First, go to and install **R-4.0.2** for windows by clicking on its installer with the (.exe) file extension.
2\. Locate the directory where you want to save your installer and click *Save.*
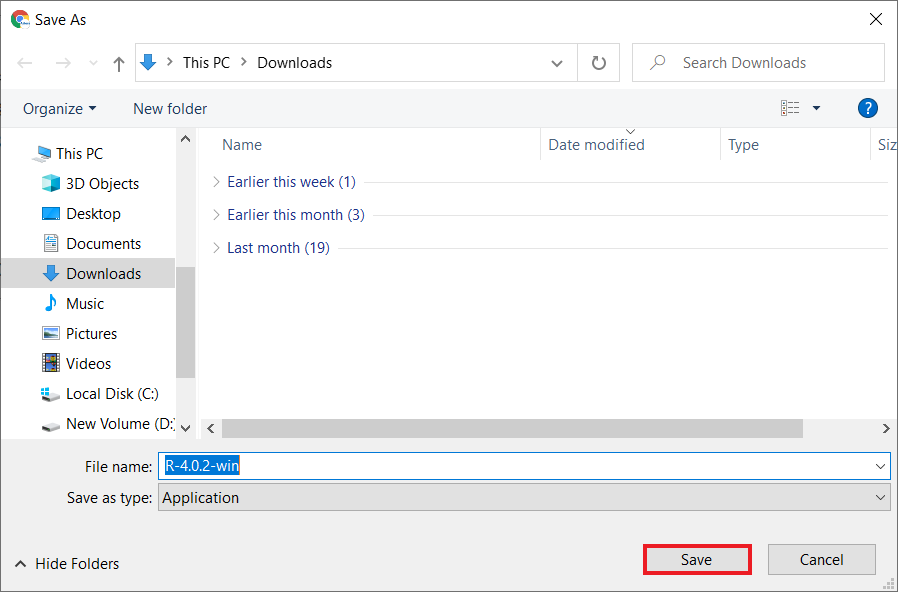
Here, we are saving the installer in the Downloads folder.
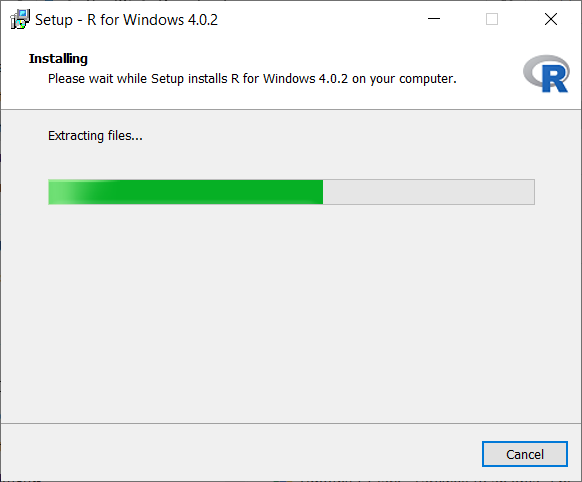
3\. Run the installer by clicking on it. Leave all the installation settings as default. The R package will be downloaded in your Program Files.
4\. Next, launch the Astera client and go to *Server* > *Manage* > *Server Properties.*
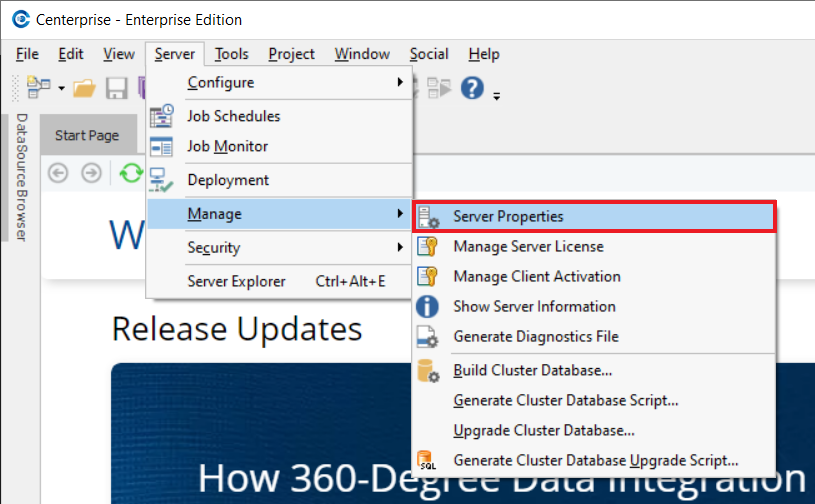
The Server Connection Properties tab will open.
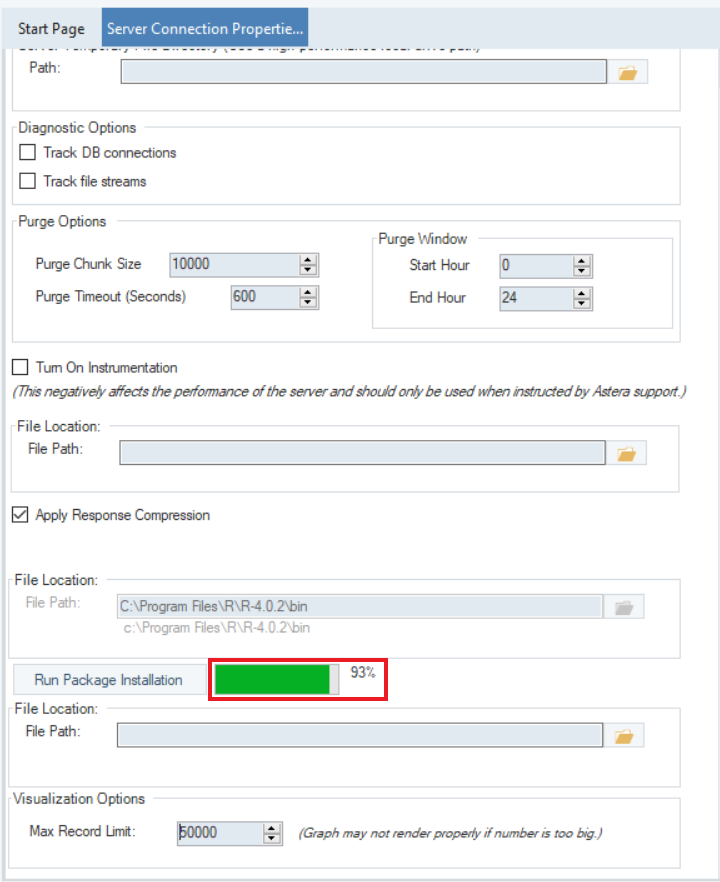
5\. Provide the path of the bin folder of the R-4.0.2 package in the *File Path* textbox.
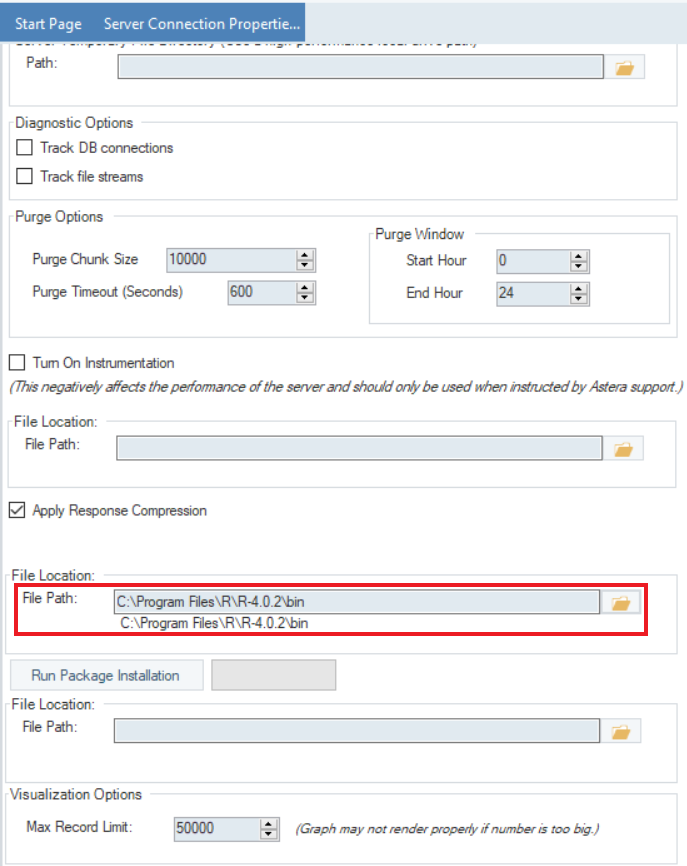
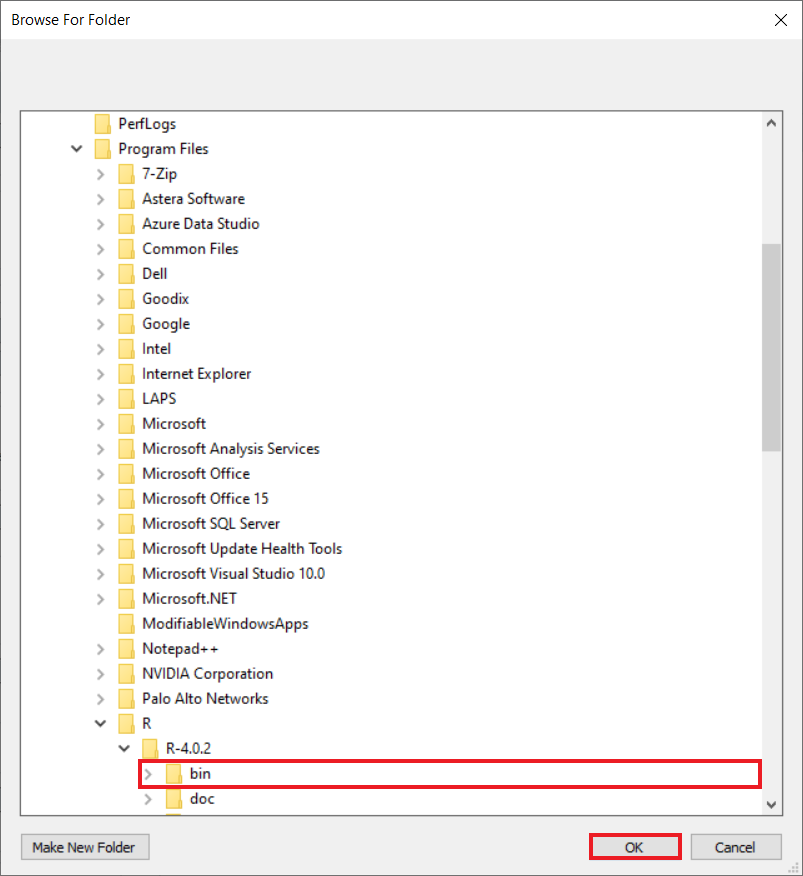
Alternatively, you can also click on the folder icon on the right and select the bin path from the directory.
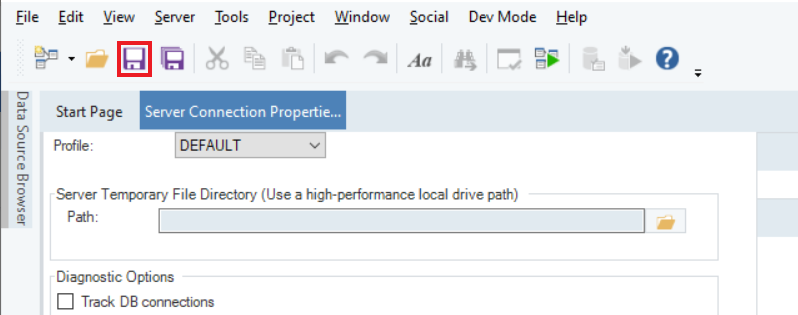
6\. Click on the *Save* icon in the secondary menu bar to save the changes made in the Server Connection Properties tab.
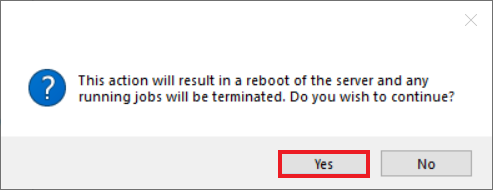
7\. It will prompt you to reboot the server. Click *Yes,* and then click *OK.*
8\. Click *OK* to start the installation of the packages.
9\. A green bar will show the installation progress. Wait till it is complete.
10\. Once the installation is completed, a dialogue box will pop up, notifying you that the installation was successful. Click *OK.*
You have successfully integrated R-4.0.2 with your Astera client.
---
# Agent Instructions
This documentation is published with GitBook. GitBook is the documentation platform designed so that both humans and AI agents can read, navigate, and reason over technical content effectively. Learn more at gitbook.com.
## Querying This Documentation
If you need additional information that is not directly available in this page, you can query the documentation dynamically by asking a question.
Perform an HTTP GET request on the current page URL with the `ask` query parameter, and the optional `goal` query parameter:
```
GET https://documentation.astera.com/astera-data-stack-v10/setting-up/setting-up-r-in-astera.md?ask=&goal=
```
`ask` is the immediate question: it should be specific, self-contained, and written in natural language.
`goal` is optional and describes the broader end goal you are ultimately trying to accomplish on behalf of the user. GitBook uses it to tailor the answer towards what is most useful for that goal.
The response will contain a direct answer to the question and relevant excerpts and sources from the documentation.
Use this mechanism when the answer is not explicitly present in the current page, you need clarification or additional context, or you want to retrieve related documentation sections.