> For the complete documentation index, see [llms.txt](https://documentation.astera.com/llms.txt). Markdown versions of documentation pages are available by appending `.md` to page URLs; this page is available as [Markdown](https://documentation.astera.com/astera-data-stack-v10/workflows/as2/as2-workflow-task.md).
# AS2 Workflow Task
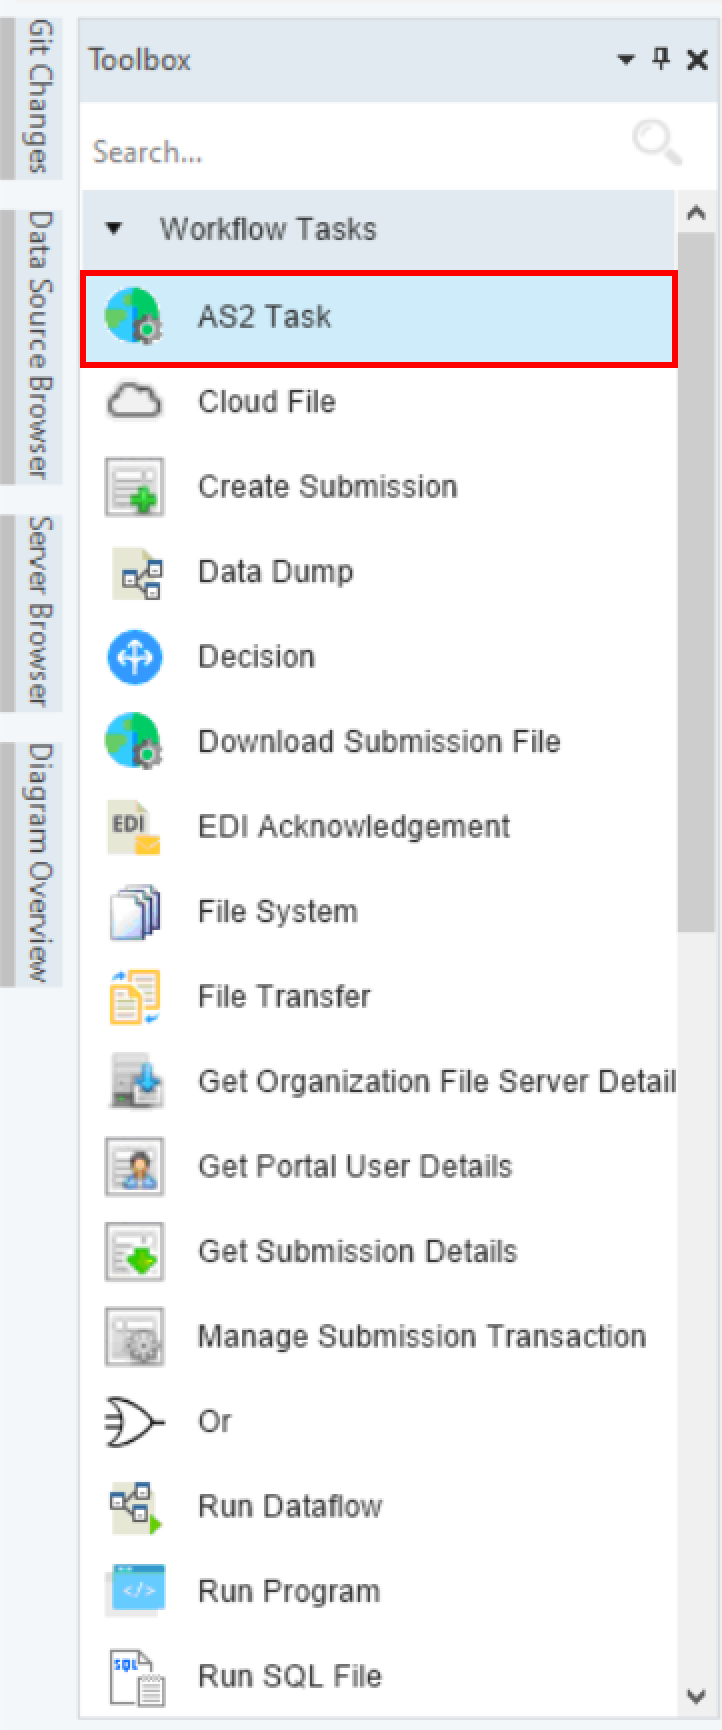
The *AS2 Workflow task* object in Astera allows us to send EDI files to a partner using the AS2 protocol.
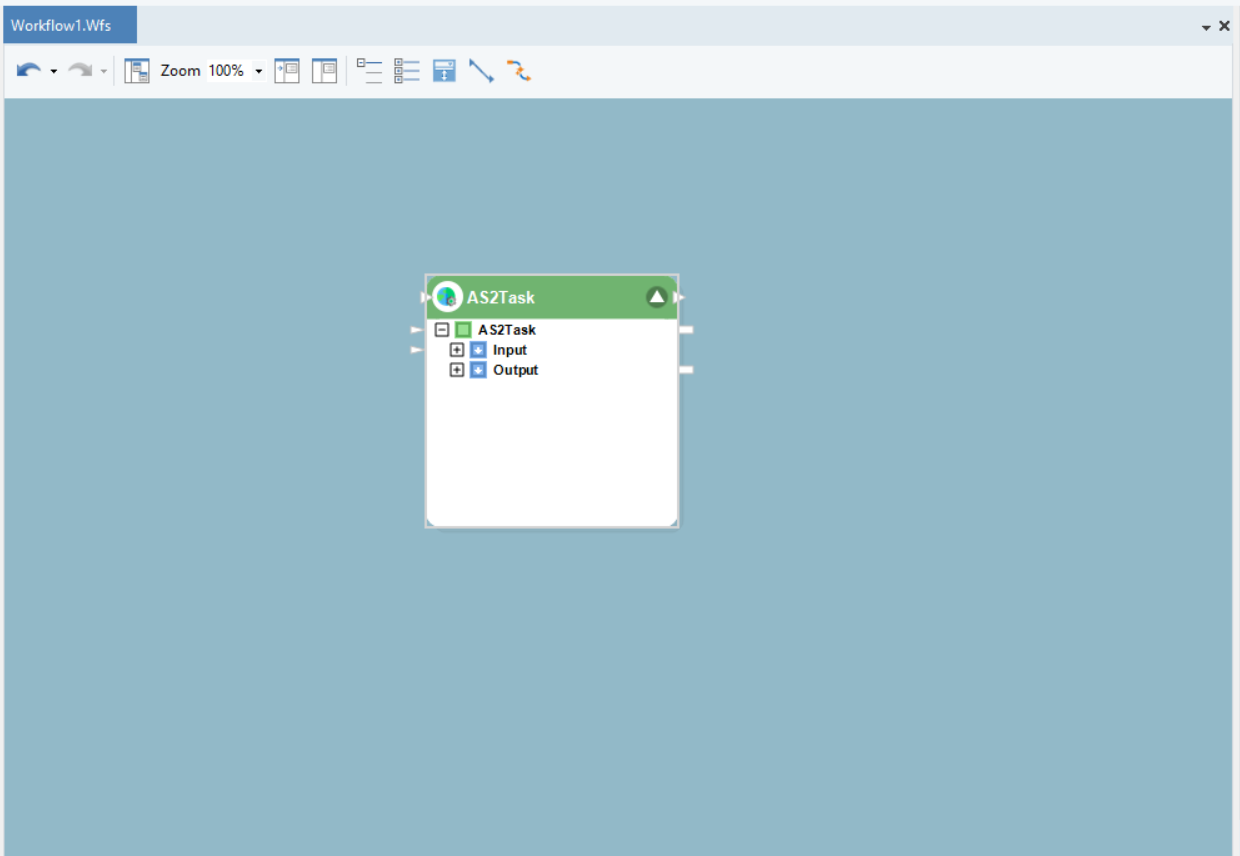
To use an *AS2 Workflow task,*
1. Drag-and-drop the AS2 Workflow task object onto the Workflow designer.
2. Configure the object by right-clicking on the object’s header and selecting *Properties* from the context menu.
An *AS2 Action Properties* window will open, as shown below. Here, we will configure the properties of the *AS2 Workflow* task.
*EDI File –* This is where you will select the EDI File you want to send to your partner.
Next, we have the *Choose AS2 Partner* option; here, we can either select an already existing partner or we can add a new partner.
If we select the *New Partner* option, we will be presented with the screen shown below. Here, we can import a new partner by configuring their information. To learn more on how to setup a partner, click [here](https://documentation.astera.com/dataflows/edi/adding-an-as2-partner).
For our use case we will be using the option *Specify AS2 Partner Information* instead of choosing an AS2 partner, as shown below.
Here we need to specify the following:
* *AS2 Partner Server URL –* The URL of the partner's server where their AS2 service is active.
* *AS2 From –* Your AS2 ID.
* *AS2 To –* Partner's AS2 ID.
* *AS2 Partner Certificate –* File path where the partner's public certificate is stored.
* *AS2 Sender Certificate and Password –* File path where your private certificate is stored along with its password.
Once configured, click *Next*.
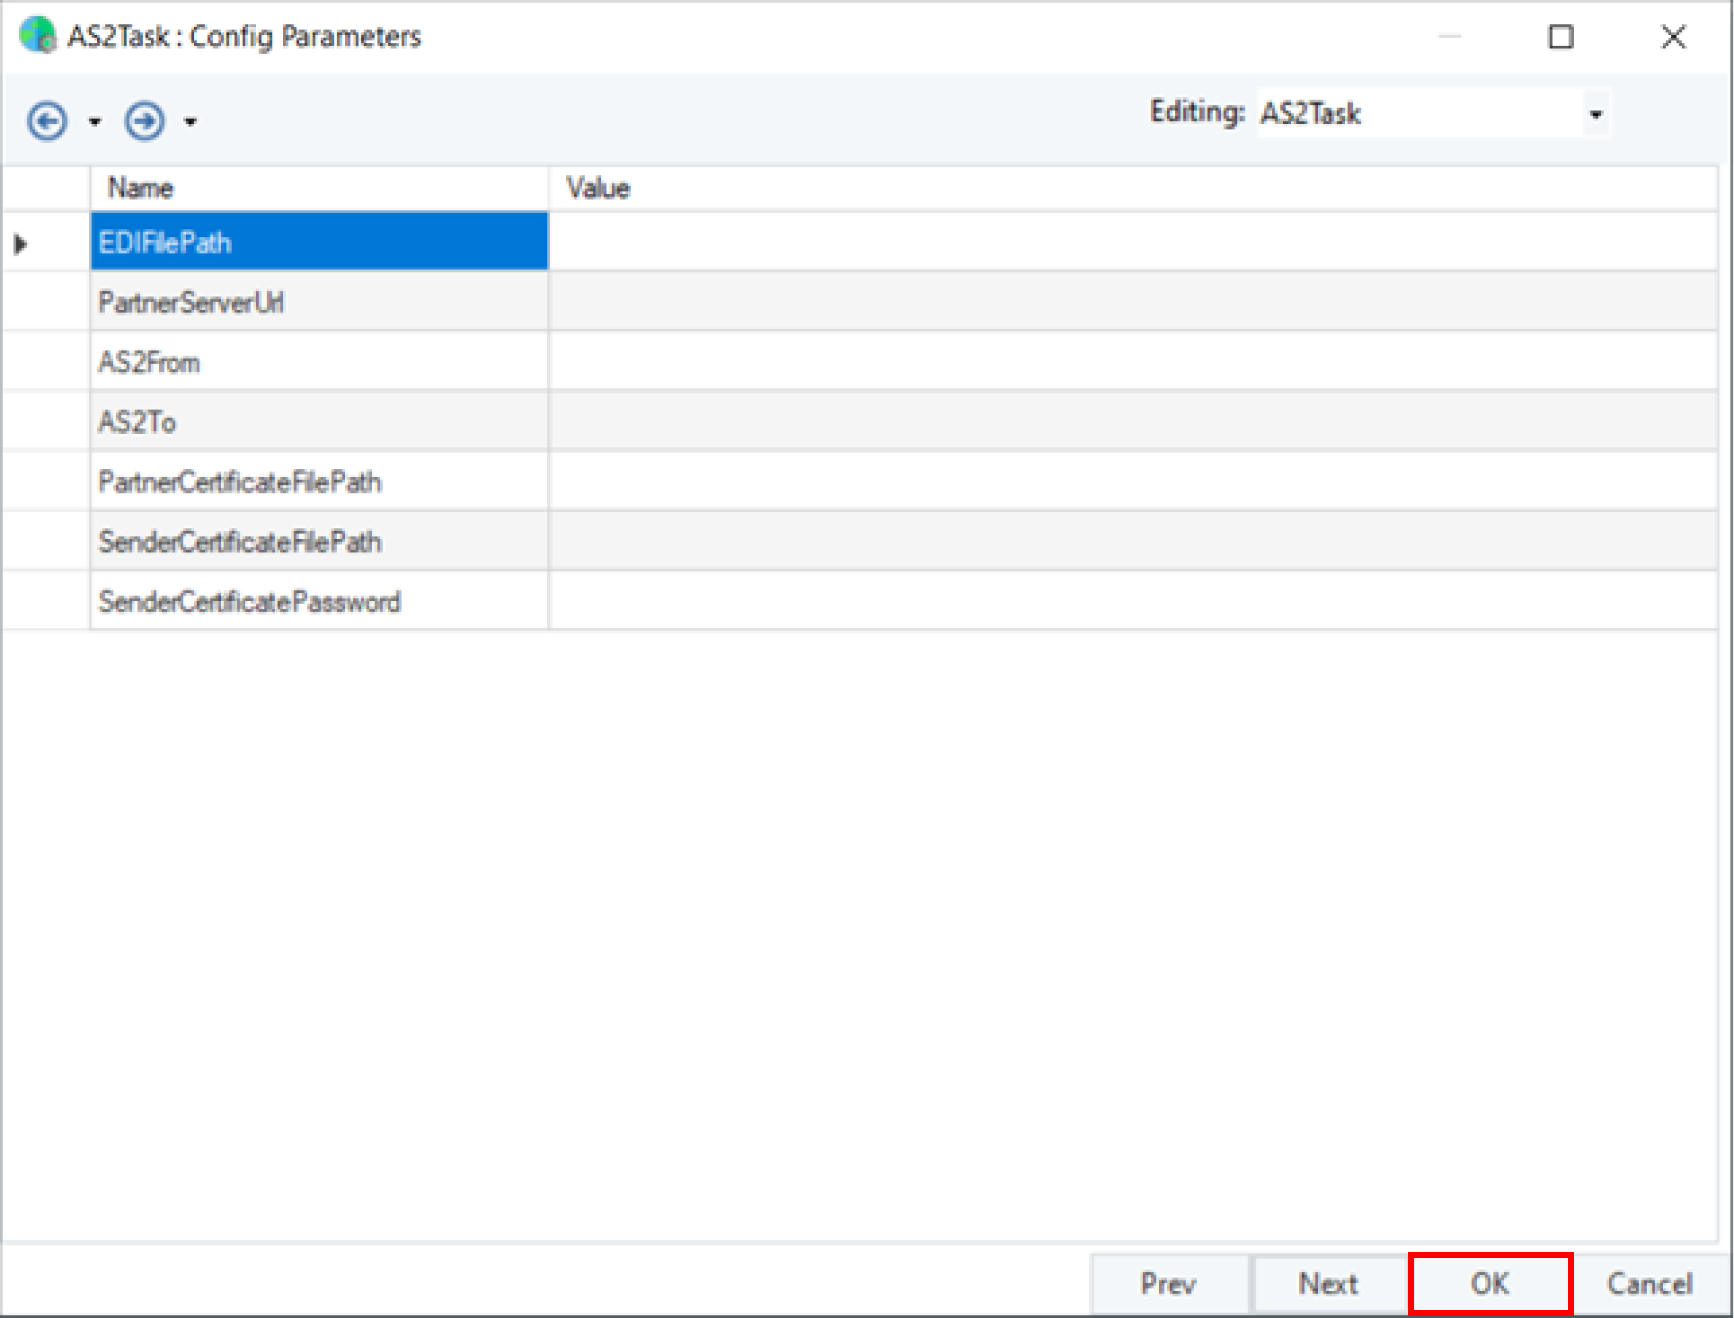
The *Config Parameters* screen will open; here, we can configure and define parameters for multiple variables.
Parameters simplify deployment of flows by replacing hardcoded values. If left empty, default properties are used.
Let’s keep the default settings and click *OK.*
Our *AS2 Workflow task* object is now configured. We can now schedule this Workflow or run this Workflow to send our EDI file to our partner.
This concludes our discussion on the *AS2 Workflow task* in Astera.
---
# Agent Instructions
This documentation is published with GitBook. GitBook is the documentation platform designed so that both humans and AI agents can read, navigate, and reason over technical content effectively. Learn more at gitbook.com.
## Querying This Documentation
If you need additional information that is not directly available in this page, you can query the documentation by asking a question.
Perform an HTTP GET request on the following URL with the `ask` and `goal` query parameters:
```
GET https://documentation.astera.com/astera-data-stack-v10/workflows/as2/as2-workflow-task.md?ask=&goal=
```
`ask` is the immediate question: it should be specific, self-contained, and written in natural language.
`goal` is what the user is ultimately trying to achieve, the reason they need the answer. Sharing it helps GitBook give you a better, more relevant answer. A goal is most helpful when it describes the outcome the user wants rather than restating the question. For example, with `ask=how do I create an API token`, a goal like `automate deployments from our CI pipeline` lets GitBook tailor the answer to that use case.
The response will contain a direct answer to the question and relevant excerpts and sources from the documentation.
Use this mechanism when the answer is not explicitly present in the current page, you need clarification or additional context, or you want to retrieve related documentation sections.

 To use an *AS2 Workflow task,*
1. Drag-and-drop the AS2 Workflow task object onto the Workflow designer.
To use an *AS2 Workflow task,*
1. Drag-and-drop the AS2 Workflow task object onto the Workflow designer.
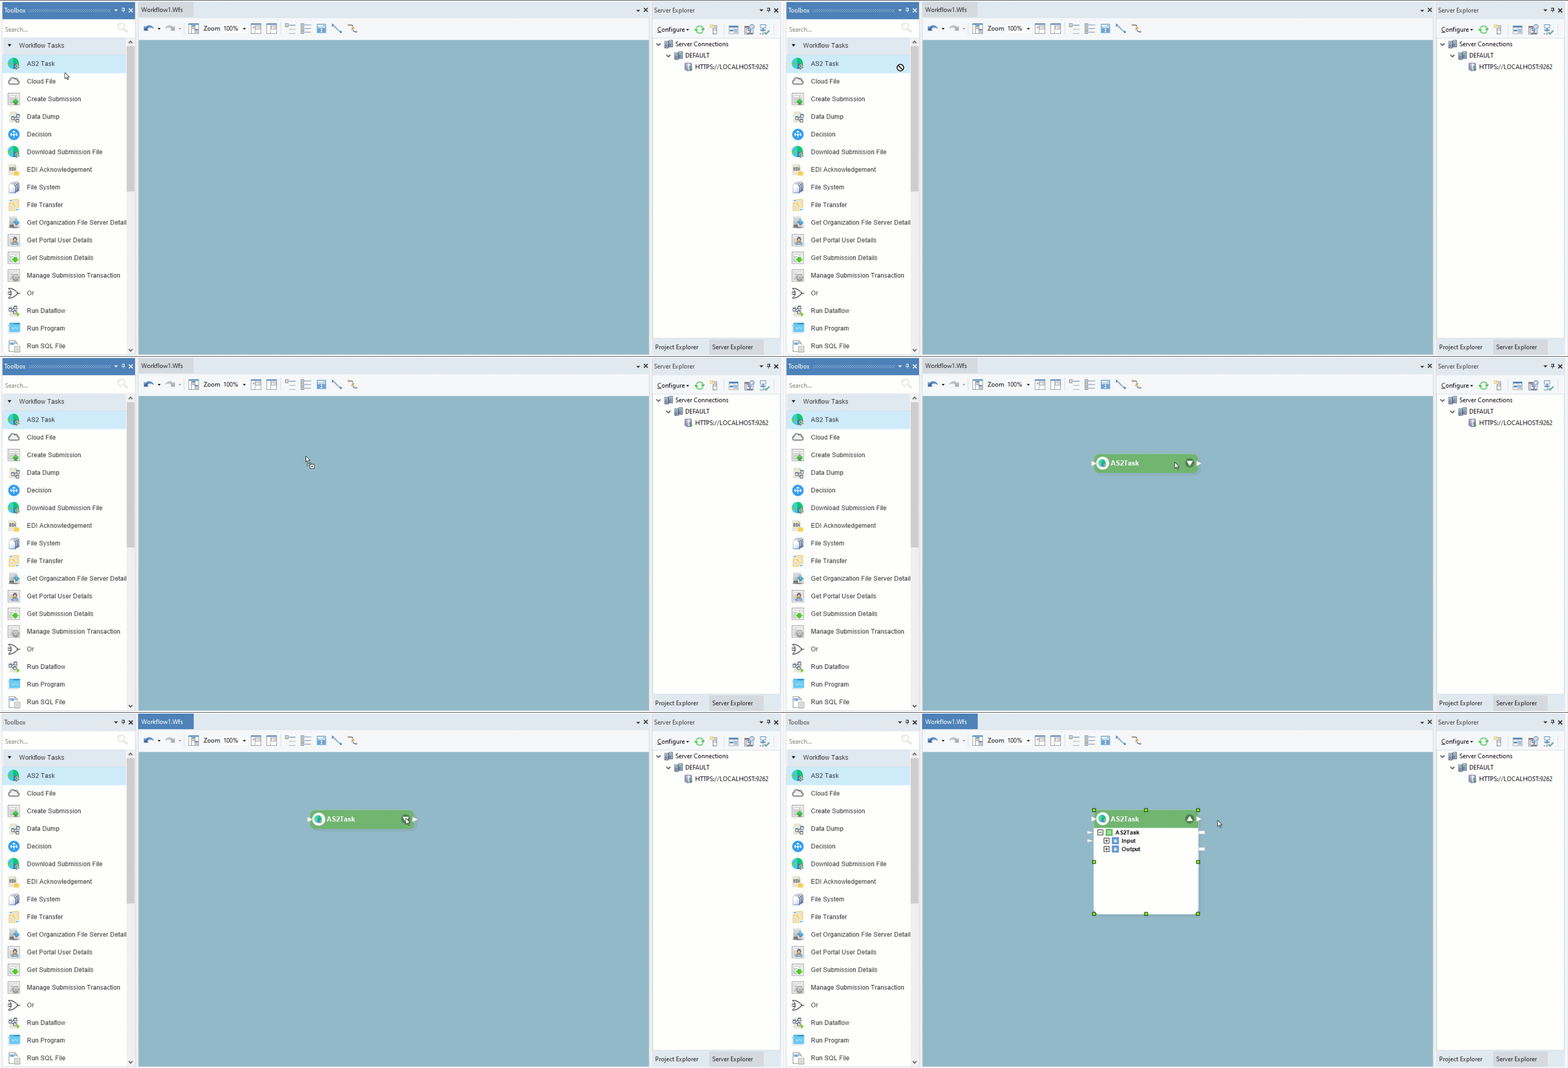 2. Configure the object by right-clicking on the object’s header and selecting *Properties* from the context menu.
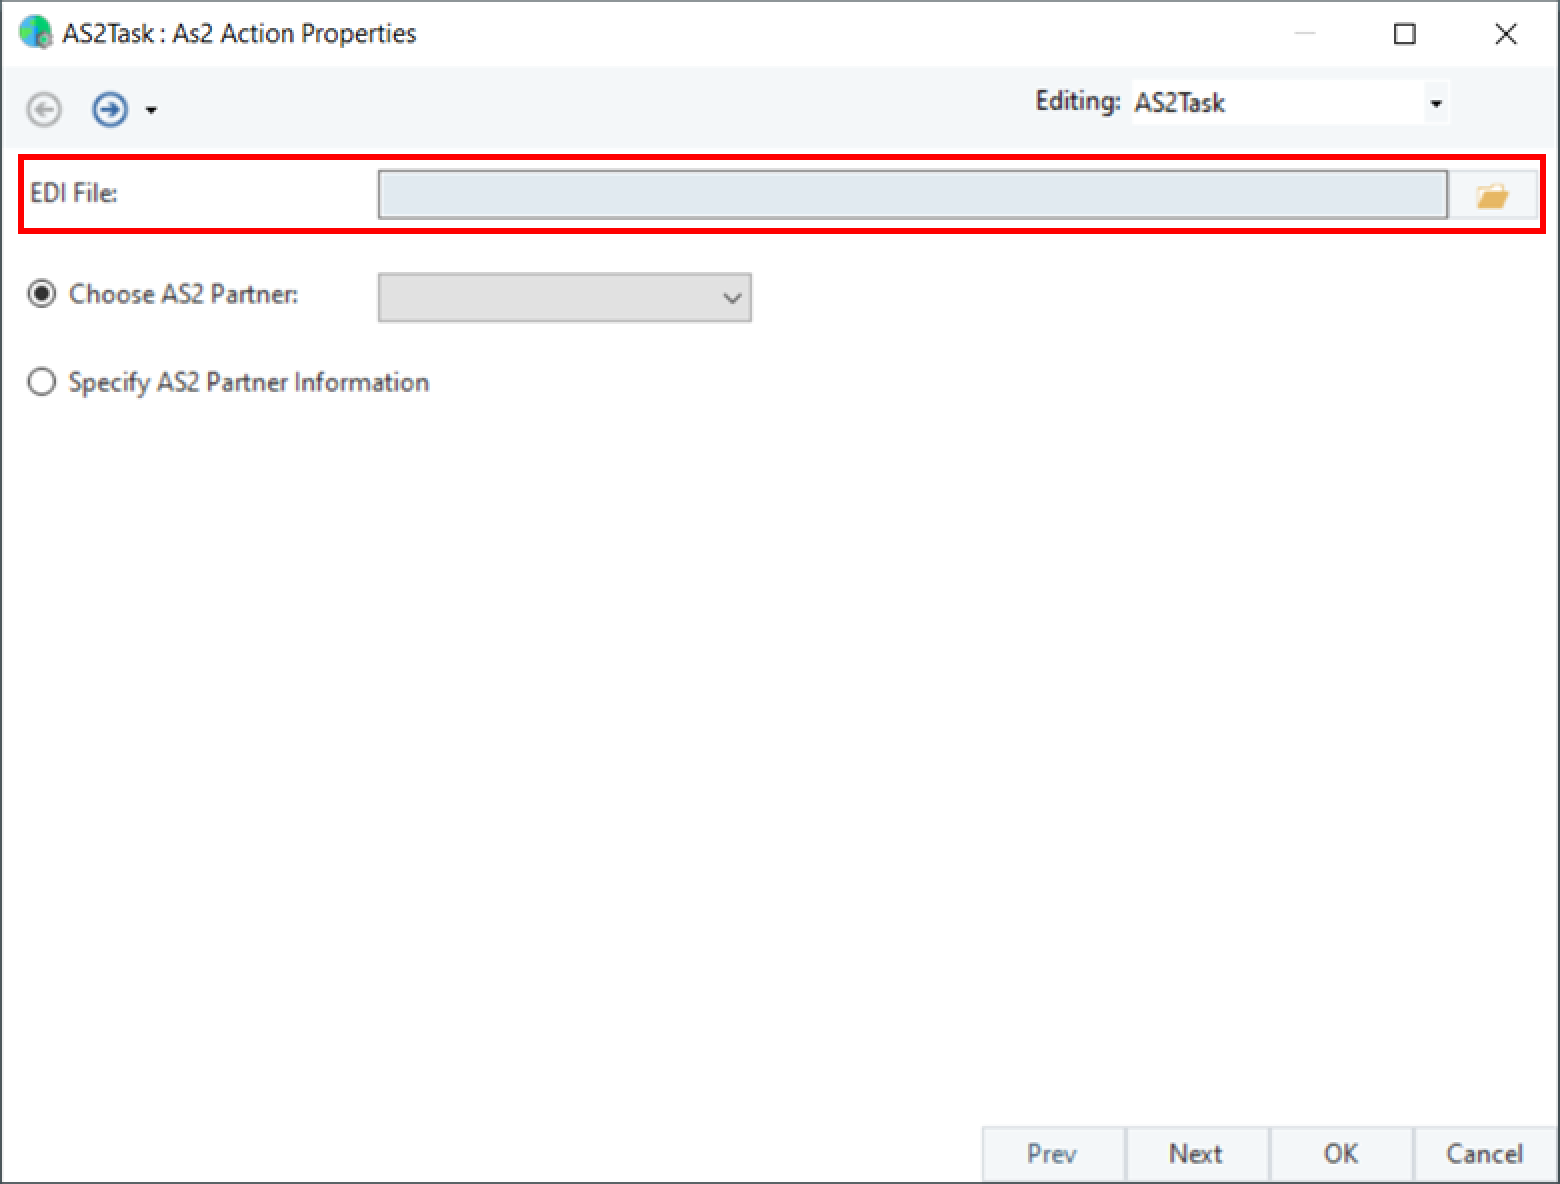 *EDI File –* This is where you will select the EDI File you want to send to your partner.
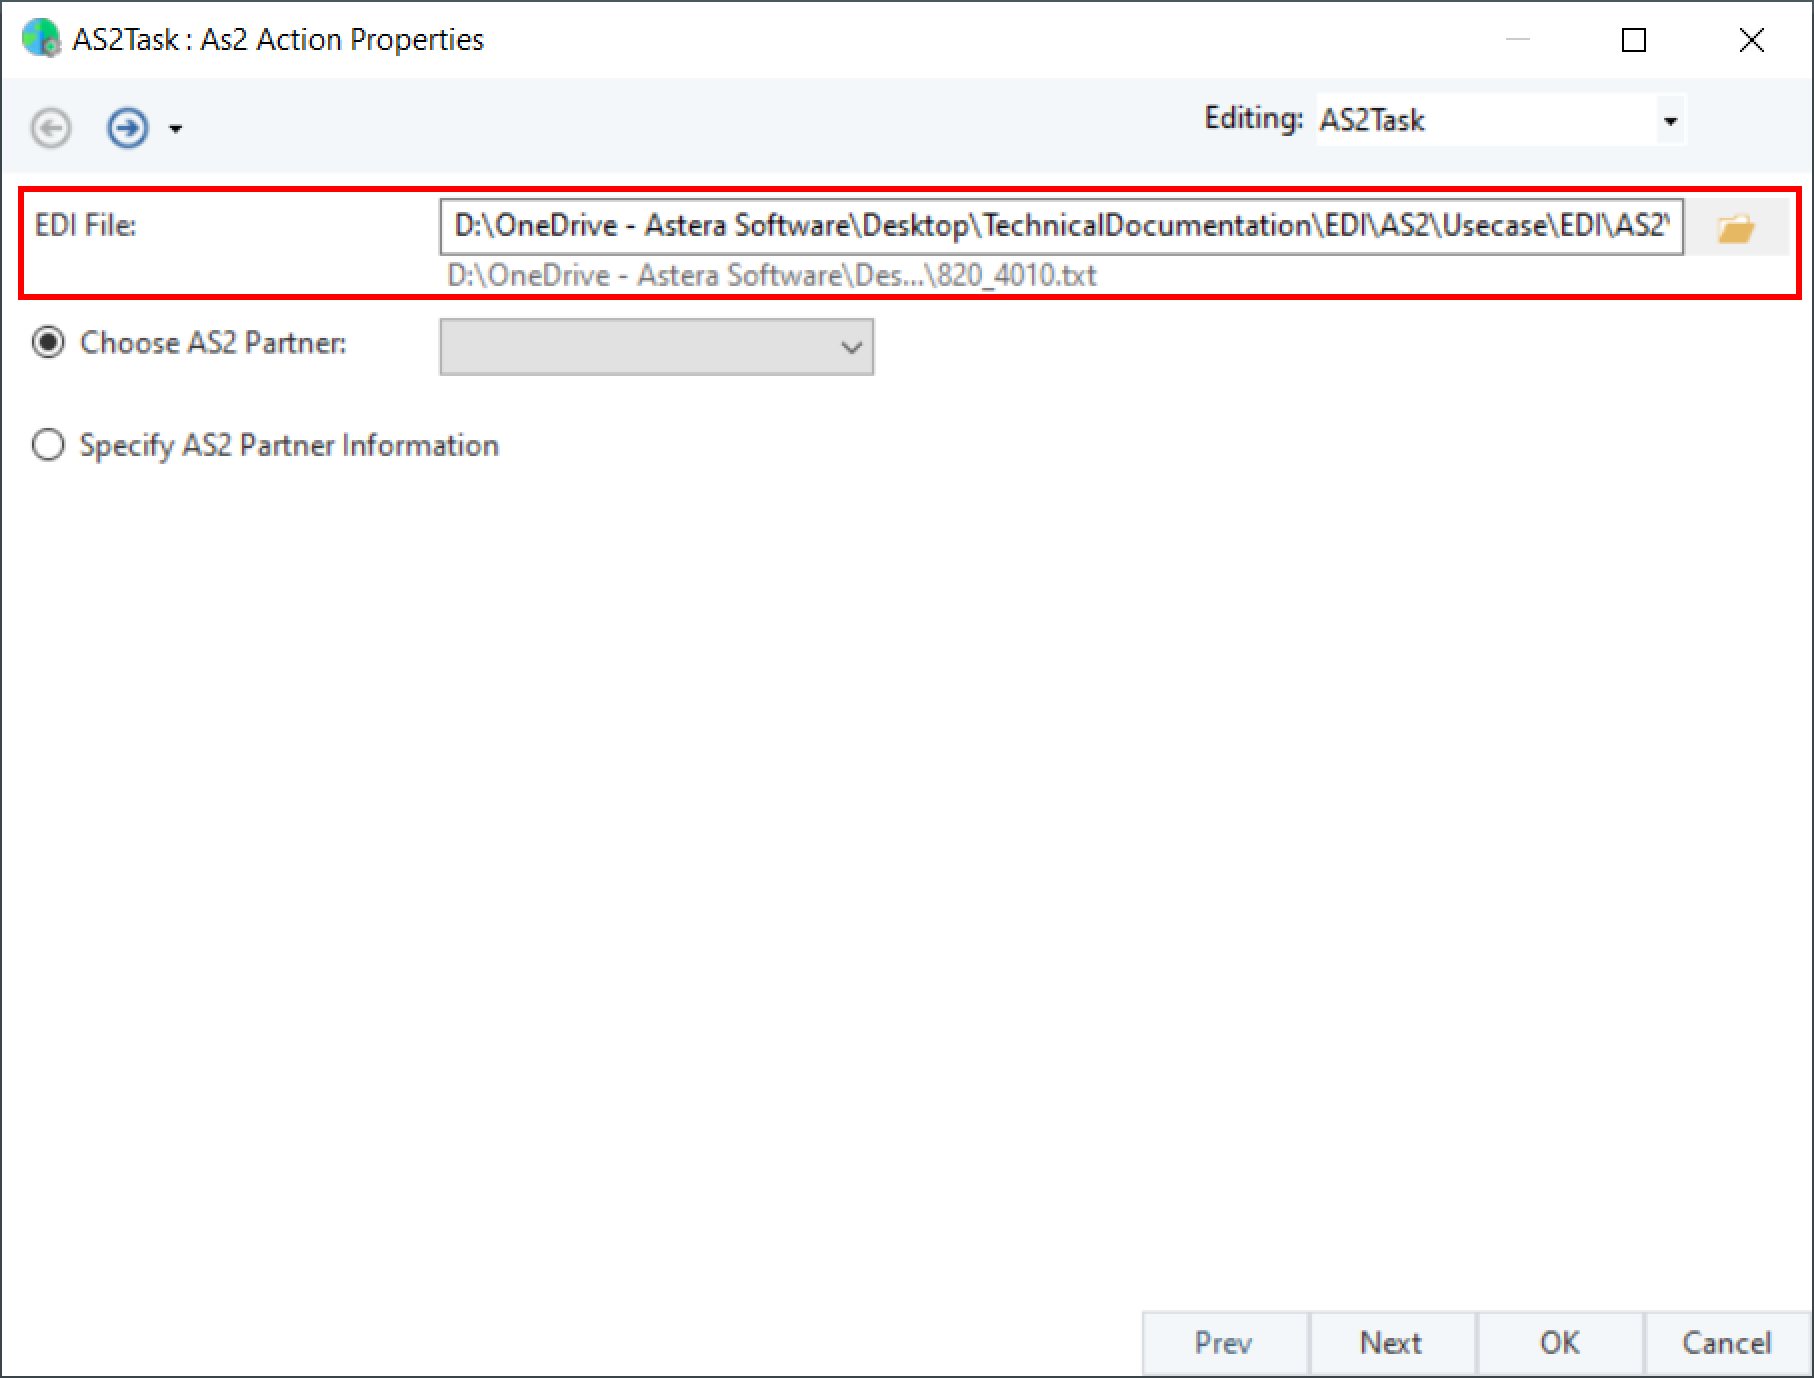 Next, we have the *Choose AS2 Partner* option; here, we can either select an already existing partner or we can add a new partner.
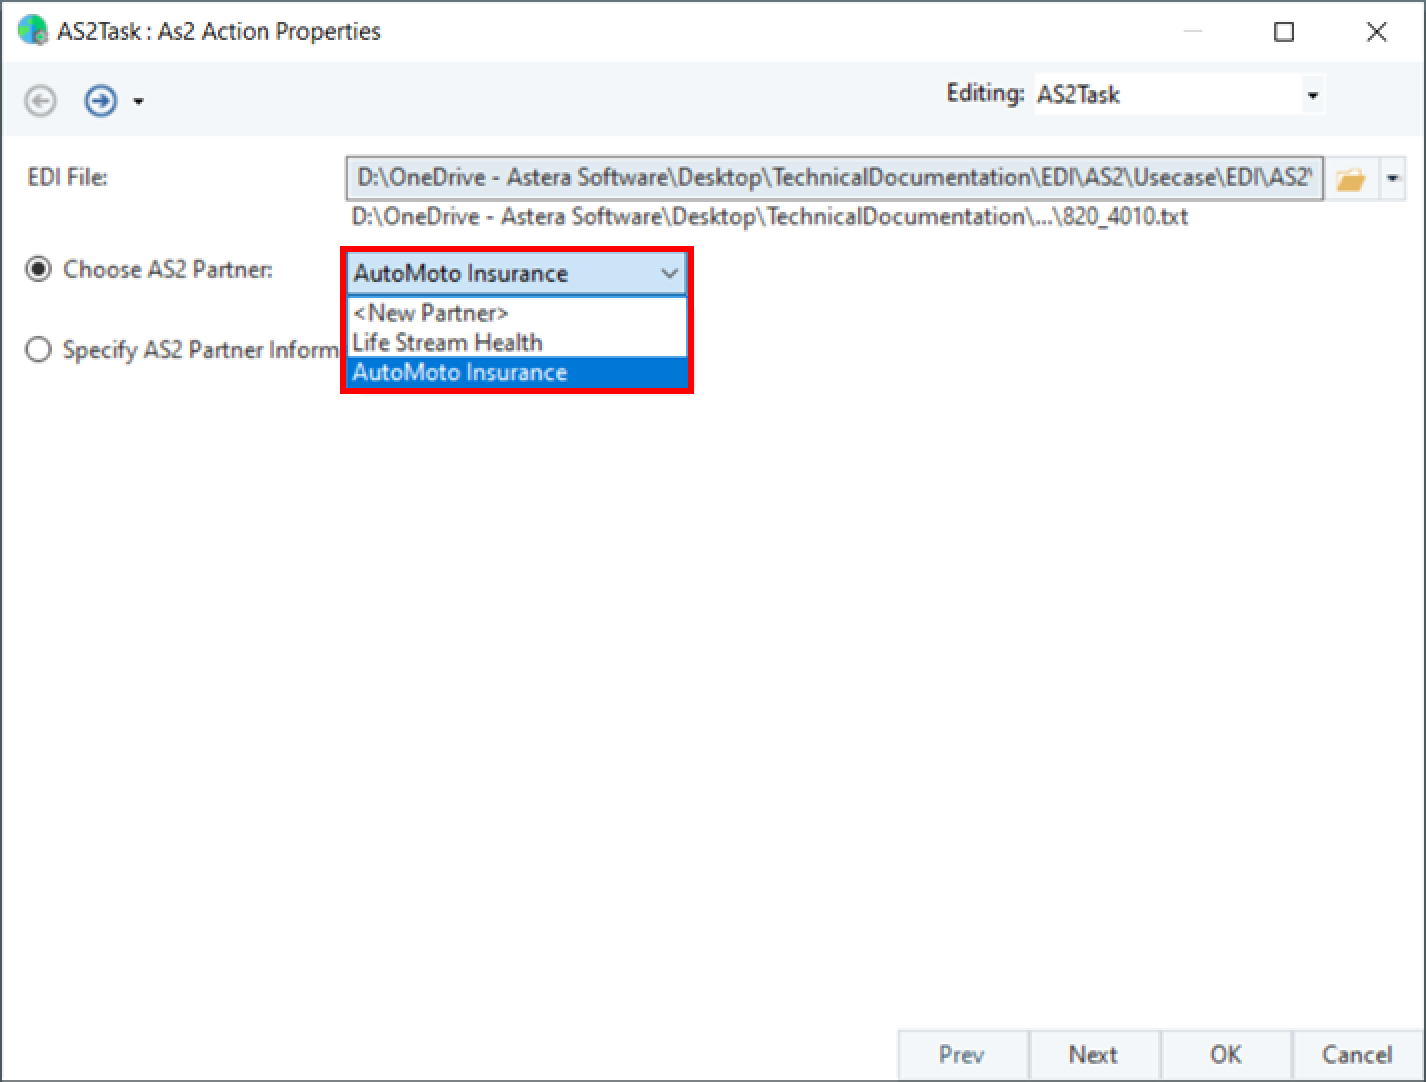 If we select the *New Partner* option, we will be presented with the screen shown below. Here, we can import a new partner by configuring their information. To learn more on how to setup a partner, click [here](https://documentation.astera.com/dataflows/edi/adding-an-as2-partner).

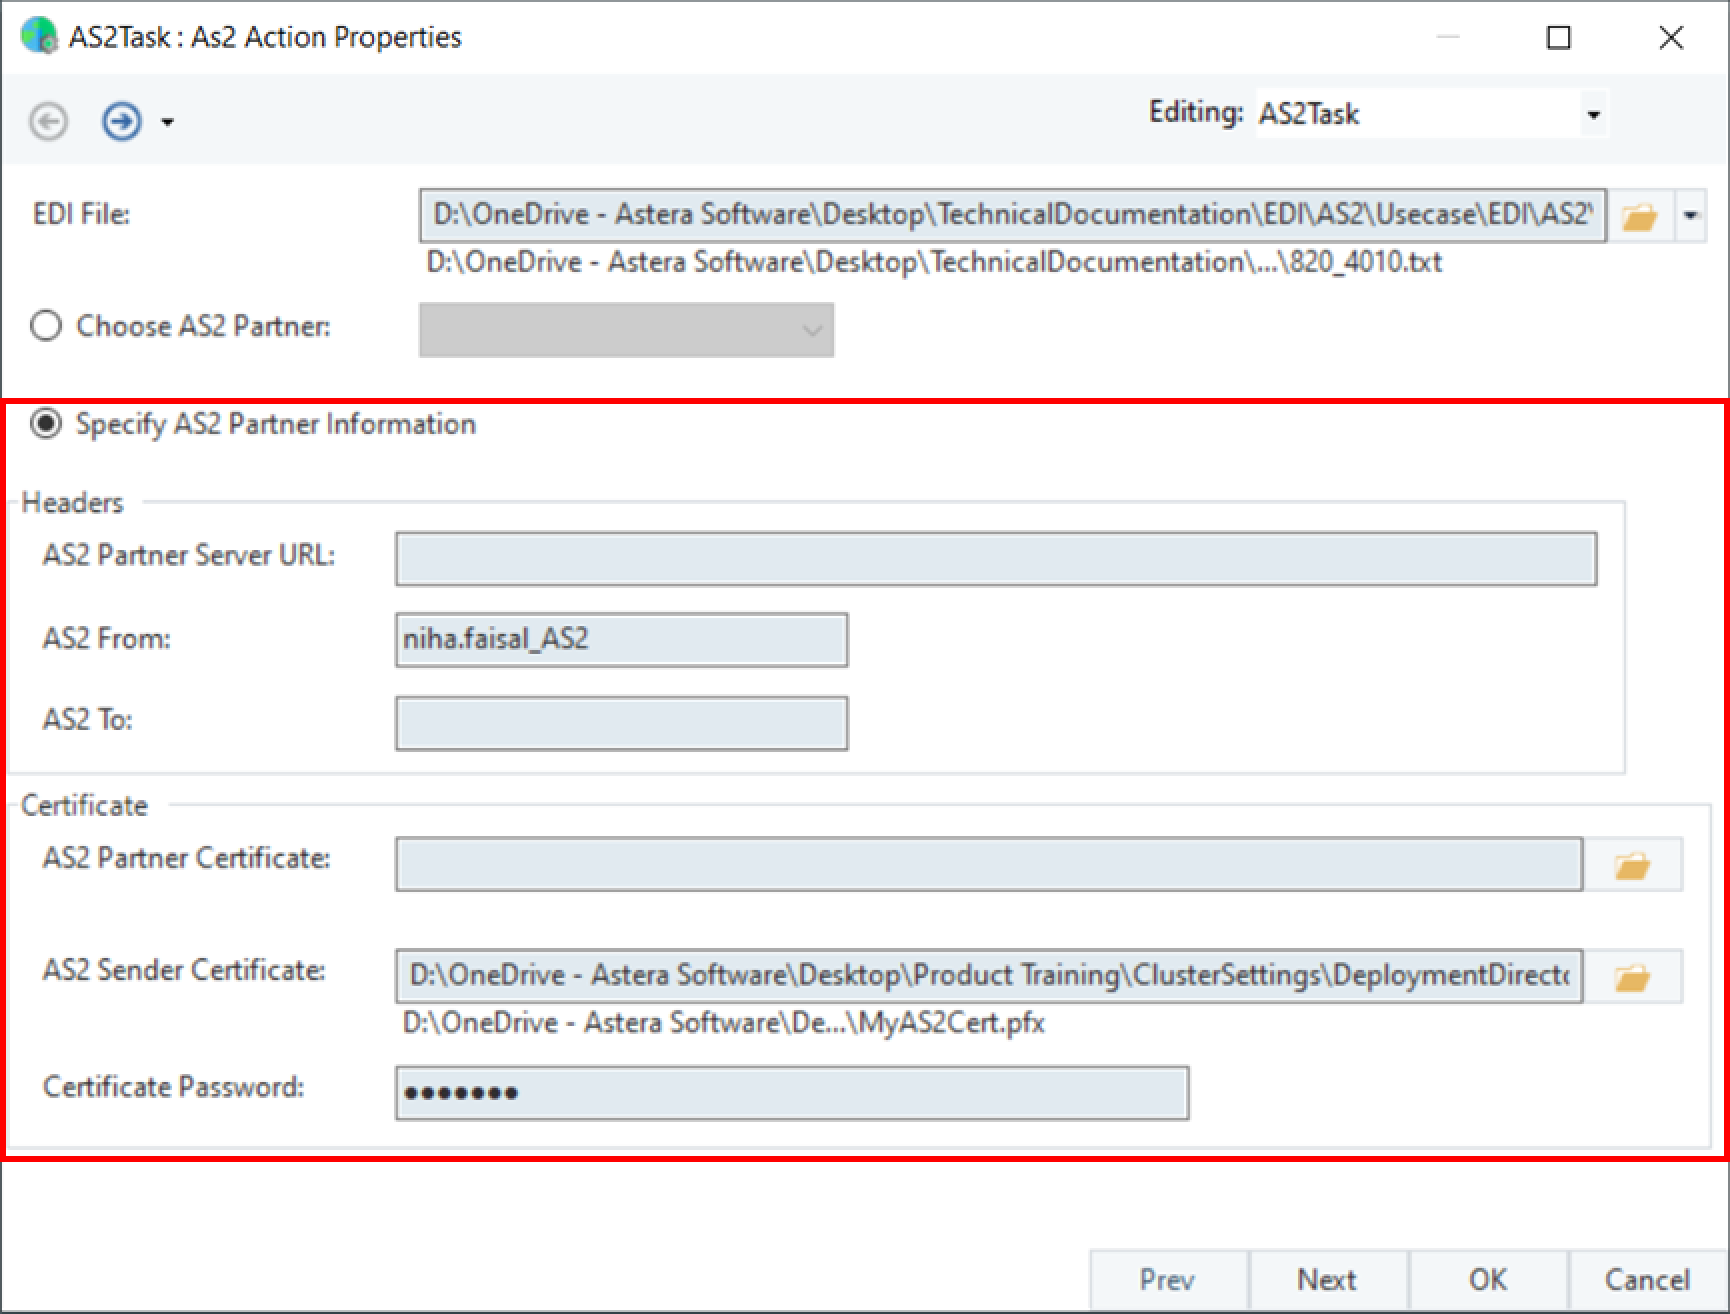 Here we need to specify the following:
* *AS2 Partner Server URL –* The URL of the partner's server where their AS2 service is active.
* *AS2 From –* Your AS2 ID.
* *AS2 To –* Partner's AS2 ID.
* *AS2 Partner Certificate –* File path where the partner's public certificate is stored.
* *AS2 Sender Certificate and Password –* File path where your private certificate is stored along with its password.
Once configured, click *Next*.
Here we need to specify the following:
* *AS2 Partner Server URL –* The URL of the partner's server where their AS2 service is active.
* *AS2 From –* Your AS2 ID.
* *AS2 To –* Partner's AS2 ID.
* *AS2 Partner Certificate –* File path where the partner's public certificate is stored.
* *AS2 Sender Certificate and Password –* File path where your private certificate is stored along with its password.
Once configured, click *Next*.
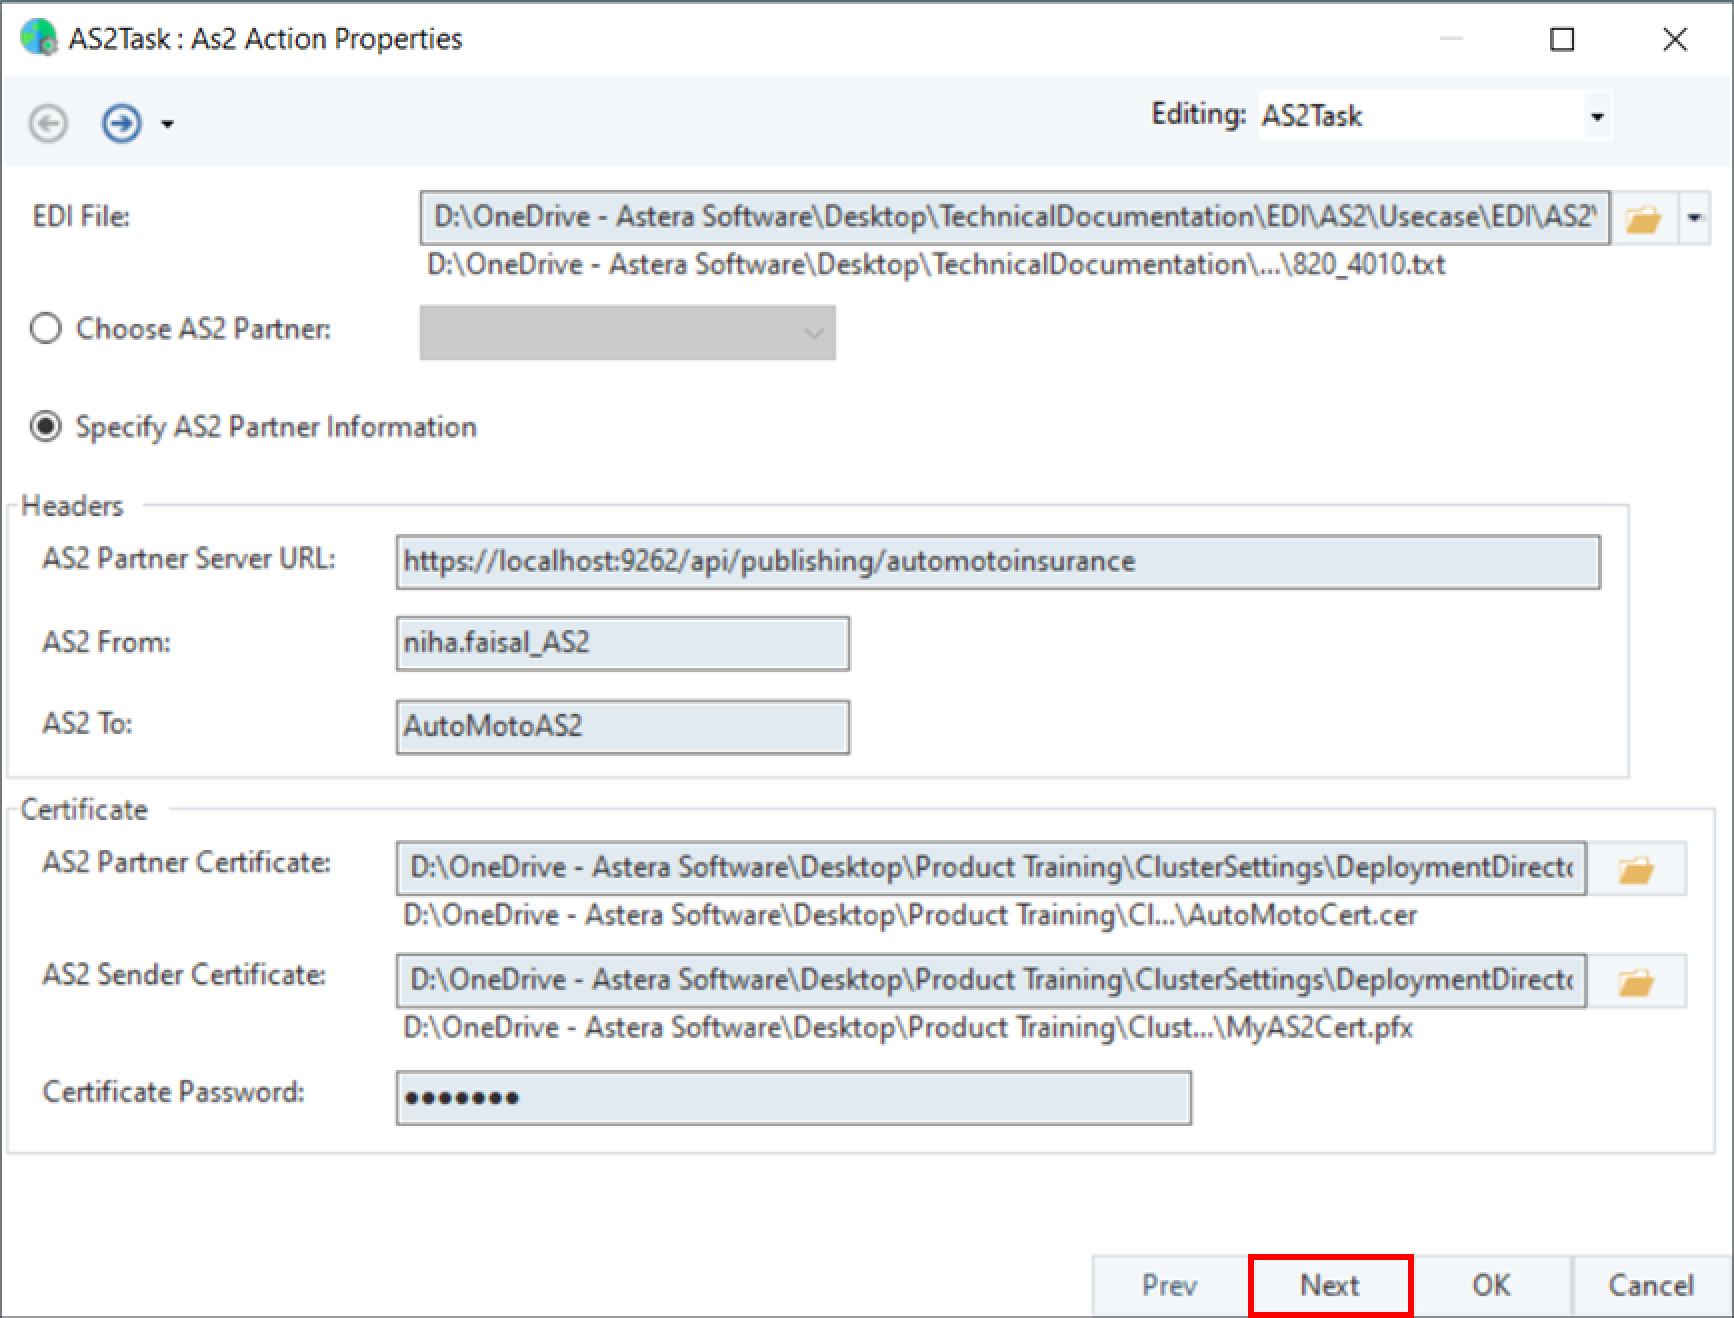 The *Config Parameters* screen will open; here, we can configure and define parameters for multiple variables.
Parameters simplify deployment of flows by replacing hardcoded values. If left empty, default properties are used.
Let’s keep the default settings and click *OK.*
The *Config Parameters* screen will open; here, we can configure and define parameters for multiple variables.
Parameters simplify deployment of flows by replacing hardcoded values. If left empty, default properties are used.
Let’s keep the default settings and click *OK.*
 Our *AS2 Workflow task* object is now configured. We can now schedule this Workflow or run this Workflow to send our EDI file to our partner.
 This concludes our discussion on the *AS2 Workflow task* in Astera.
---
# Agent Instructions
This documentation is published with GitBook. GitBook is the documentation platform designed so that both humans and AI agents can read, navigate, and reason over technical content effectively. Learn more at gitbook.com.
## Querying This Documentation
If you need additional information that is not directly available in this page, you can query the documentation by asking a question.
Perform an HTTP GET request on the following URL with the `ask` and `goal` query parameters:
```
GET https://documentation.astera.com/astera-data-stack-v10/workflows/as2/as2-workflow-task.md?ask=
This concludes our discussion on the *AS2 Workflow task* in Astera.
---
# Agent Instructions
This documentation is published with GitBook. GitBook is the documentation platform designed so that both humans and AI agents can read, navigate, and reason over technical content effectively. Learn more at gitbook.com.
## Querying This Documentation
If you need additional information that is not directly available in this page, you can query the documentation by asking a question.
Perform an HTTP GET request on the following URL with the `ask` and `goal` query parameters:
```
GET https://documentation.astera.com/astera-data-stack-v10/workflows/as2/as2-workflow-task.md?ask=