# Certificate Store
## Certificate Store
Astera provides users with a certificate store, enabling them to perform essential tasks such as importing, exporting, and generating certificates for various purposes, enhancing security and authentication in the API request using mutual TLS, and providing encrypted communication and data transfers.
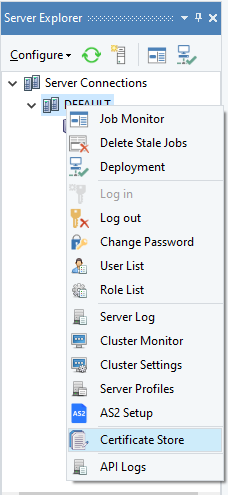
1. Right-click on the *Default cluster* node in the Server Explorer and select *Certificate Store* from the context menu.
This will open a new window.
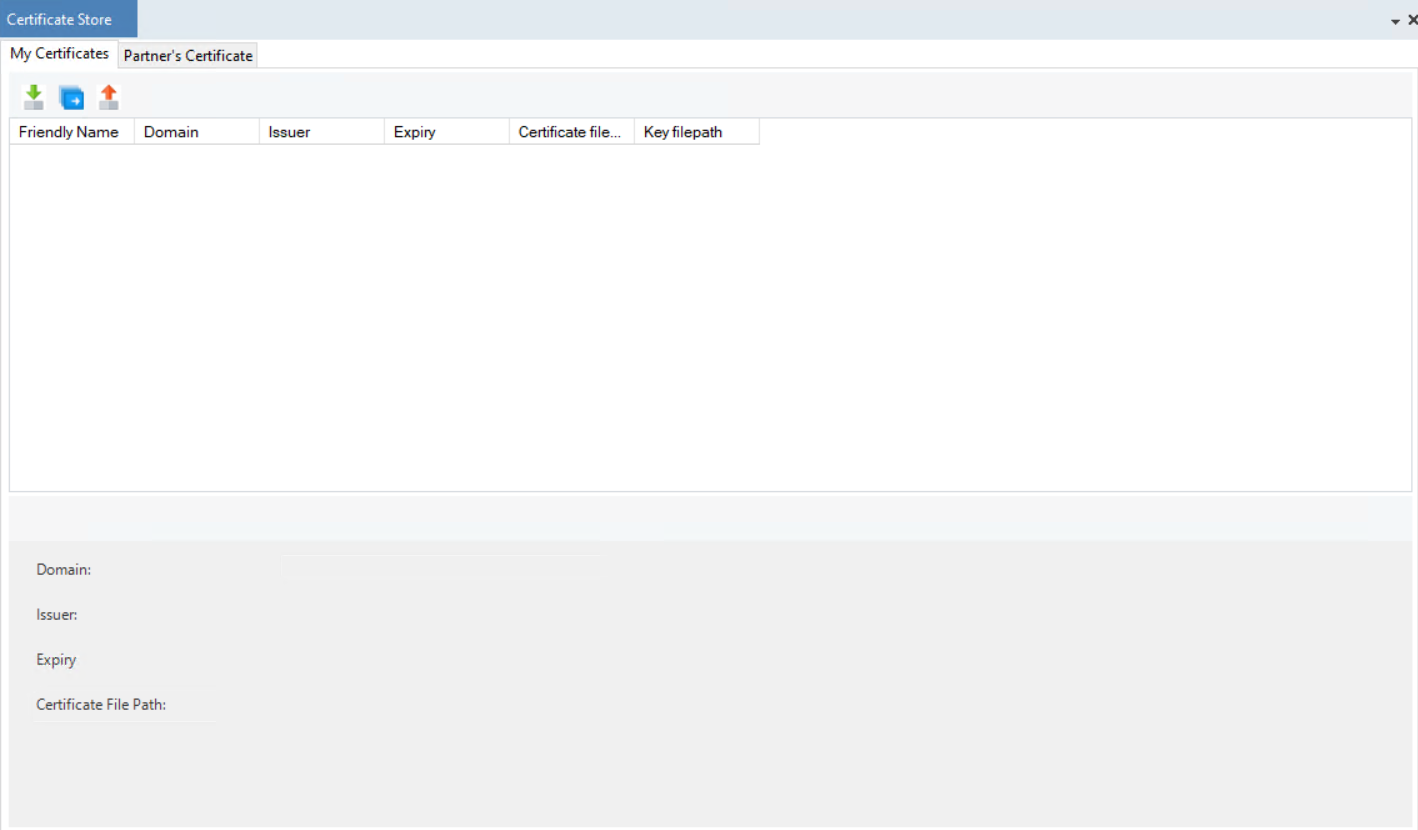
### Importing a Certificate
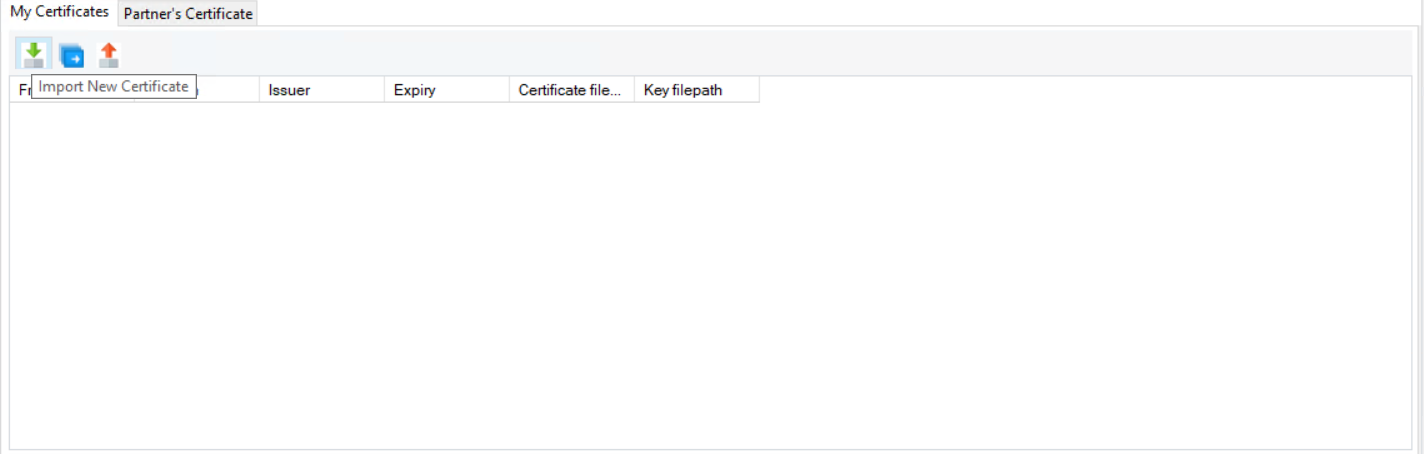
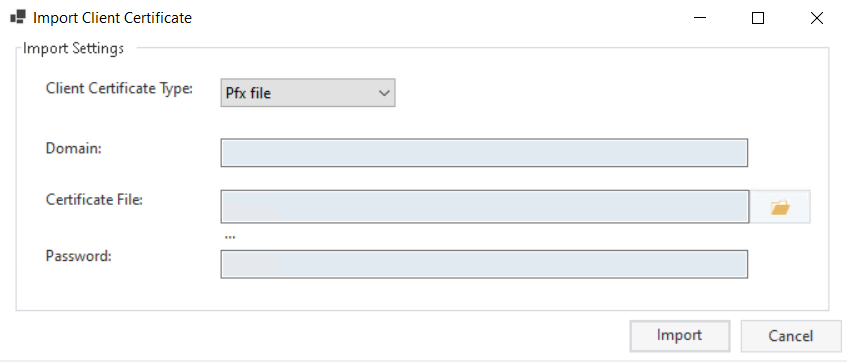
1. To import a certificate, select its icon.
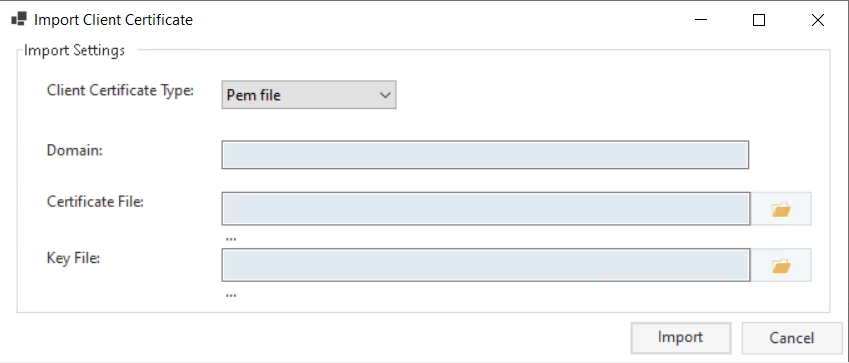
This will open a new window.
*Client Certificate Type:* This option lets you select whether the certificate extension is a Pem file or a Pfx file.
*Domain:* The domain on which the certificate is to be used when making a connection.
*Certificate File:* The file path of the certificate to be imported.
*Key File:* The key file for the certificate which is used for authentication.
{% hint style="info" %}
**Note:** In the case of a .pfx file, a *Password* field will be required instead of a *Key File* field.
{% endhint %}
*Password:* This is where we enter the password for our Pfx Certificate for authentication.
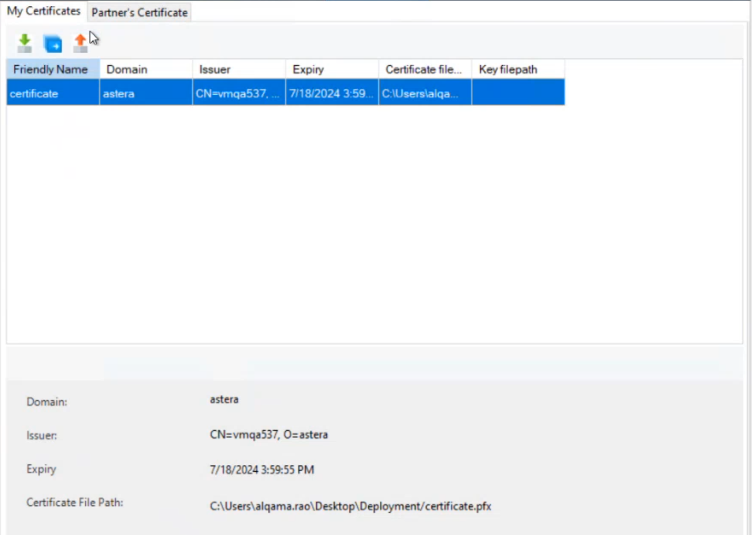
2. For our use case, we have imported a certificate from the Astera domain.
### Generating a Certificate
1. To start, select the *Generate New Certificate* option.
This will open a new window.
*Domain/Certificate:* The domain on which the certificate will be based.
*Common Name:* The name of the certificate.
*Organization Name:* The name of the organization to which the certificate belongs.
*File Name:* The file name of the certificate.
*Password:* The password for the new certificate.
*Signature Algorithm:* The algorithm on which the certificate will use the signature.
*Validity Period:* The expiry date of the certificate, in years.
*Key Size:* The size of the key for the certificate.
{% hint style="info" %}
**Note**: For *Signature Algorithms SHA384* and *SHA512,* the minimum possible key size is 1024.
{% endhint %}
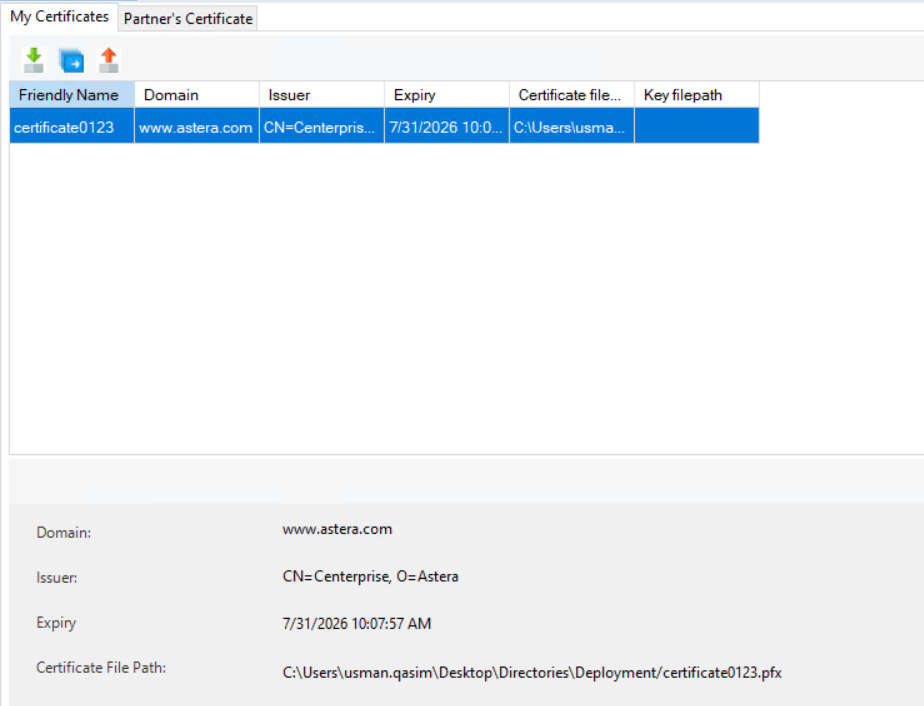
2. For our use case, we have made the following certificate.
Selecting *Generate* will create the new certificate.
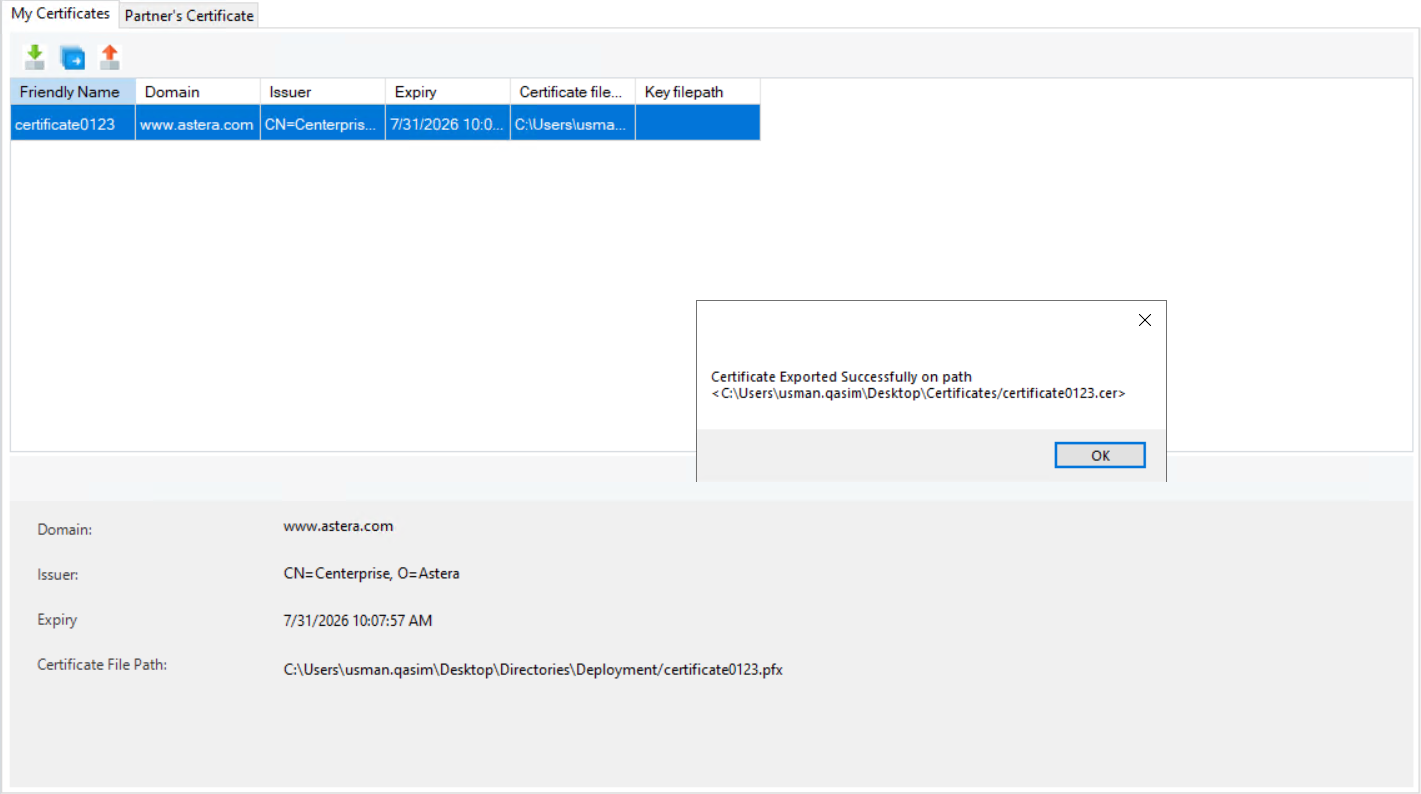
### Exporting a Certificate
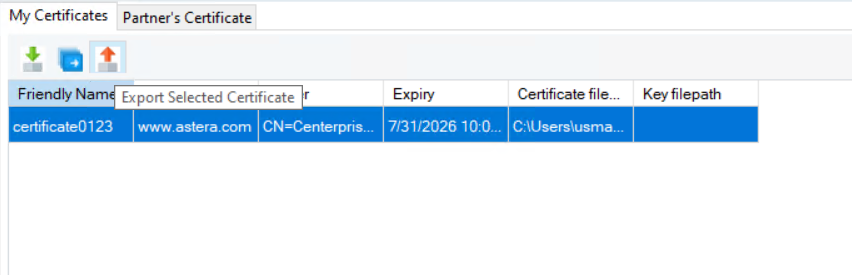
1. To export the above-generated certificate, select the *Export Selected Certificate* option.
2. Select the destination folder and the certificate will be exported.
The certificate can then be used elsewhere.
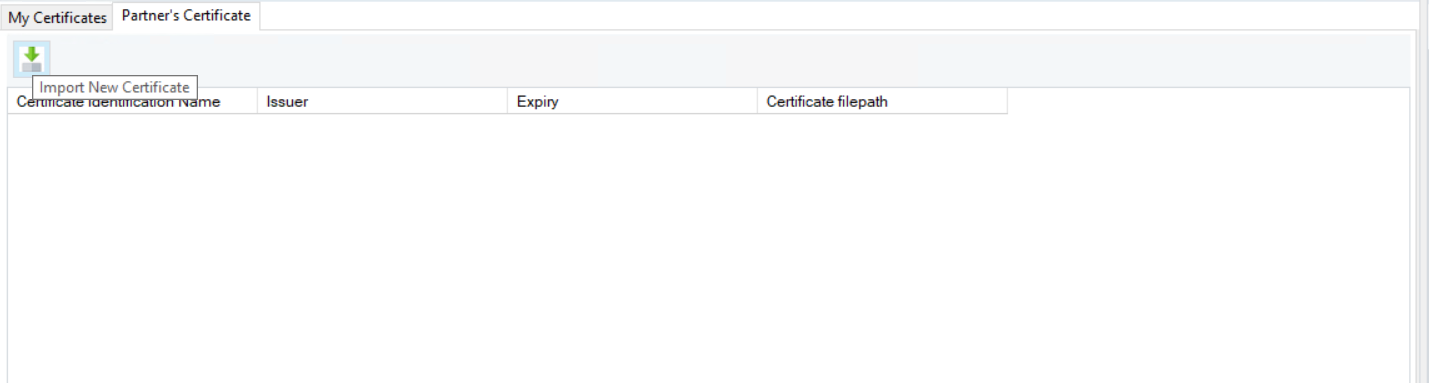
### Partner Certificates
Astera allows the user to import certificates as a client.
1. Select the *Partner Certificates* tab and select *Import New Certificate*.
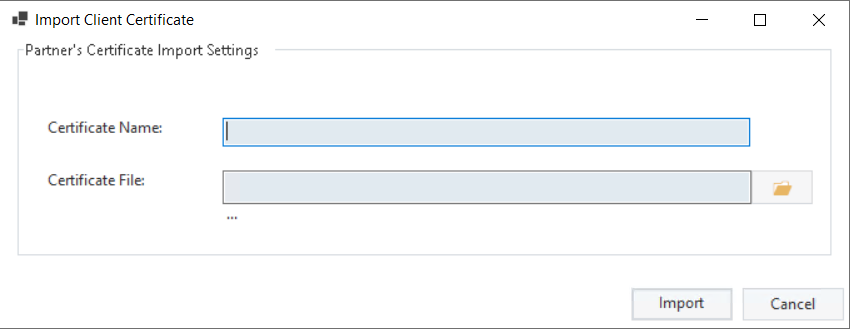
This will open a new window.
*Certificate Name:* This is where the name of the certificate is used.
*Certificate File:* The file path to the certificate that is to be imported.
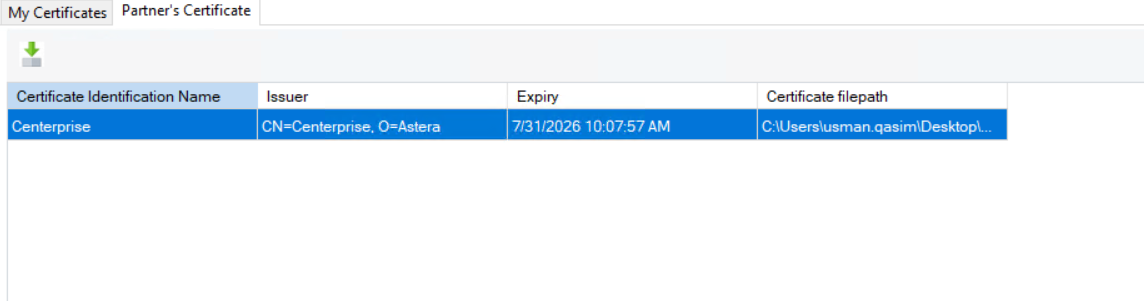
2. Selecting *Import* will Import the certificate.
This concludes the working of the Certificate Store in Astera.