# Setting Up R in Astera
R is a programming language needed to run some of the data science related objects in Astera, such as objects in the *Testing and Diagnostics* and *Analytical Models* sections of the Toolbox.
The version 4.0.2 of R is the most compatible with the Astera Client.
### Steps to Install and Connect with R.4.0.2
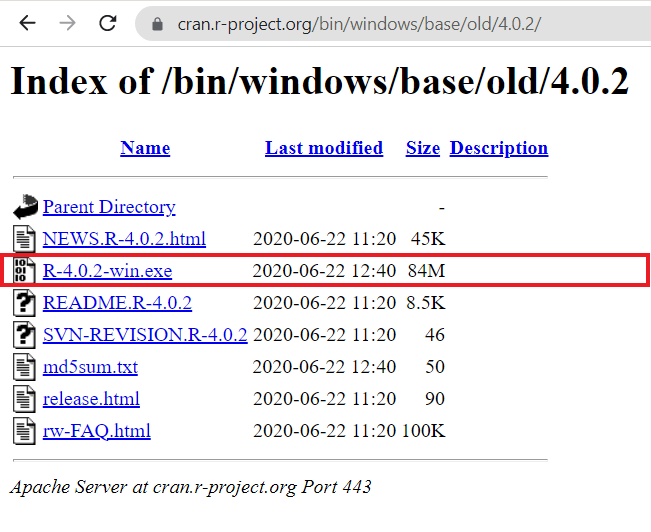
1\. First, go to and install **R-4.0.2** for windows by clicking on its installer with the (.exe) file extension.
2\. Locate the directory where you want to save your installer and click *Save.*
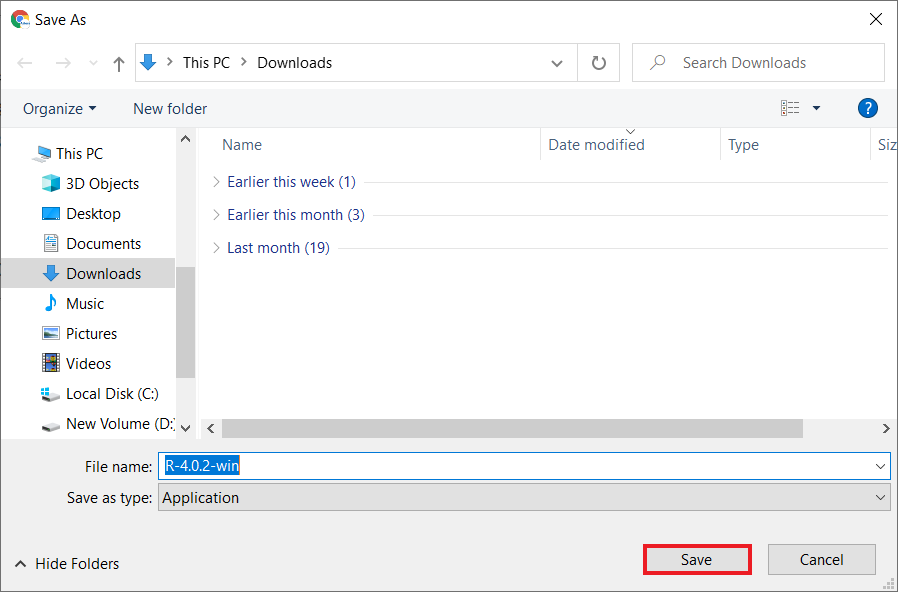
Here, we are saving the installer in the Downloads folder.
3\. Run the installer by clicking on it. Leave all the installation settings as default. The R package will be downloaded in your Program Files.
4\. Next, launch the Astera client and go to *Server* > *Manage* > *Server Properties.*
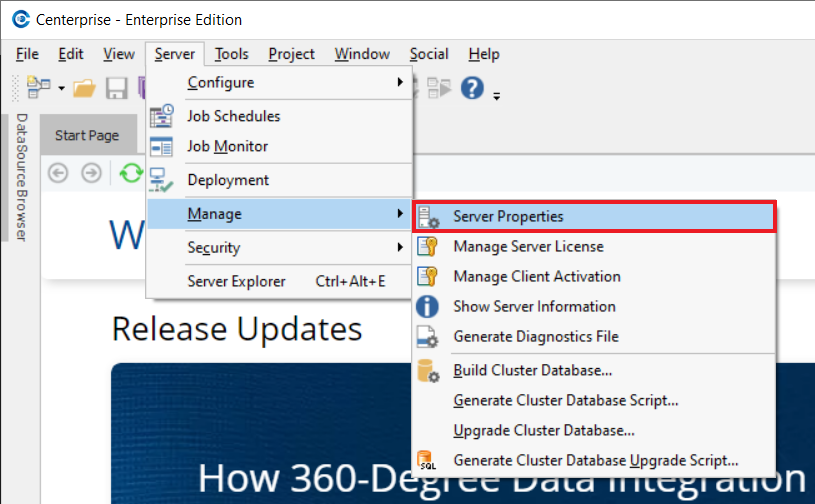
The Server Connection Properties tab will open.
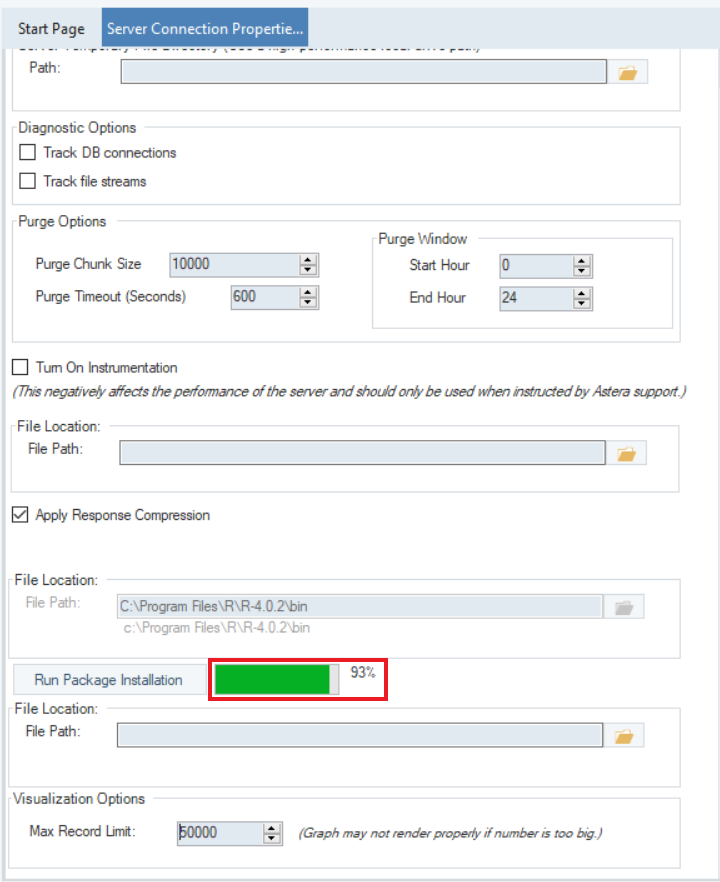
5\. Provide the path of the bin folder of the R-4.0.2 package in the *File Path* textbox.
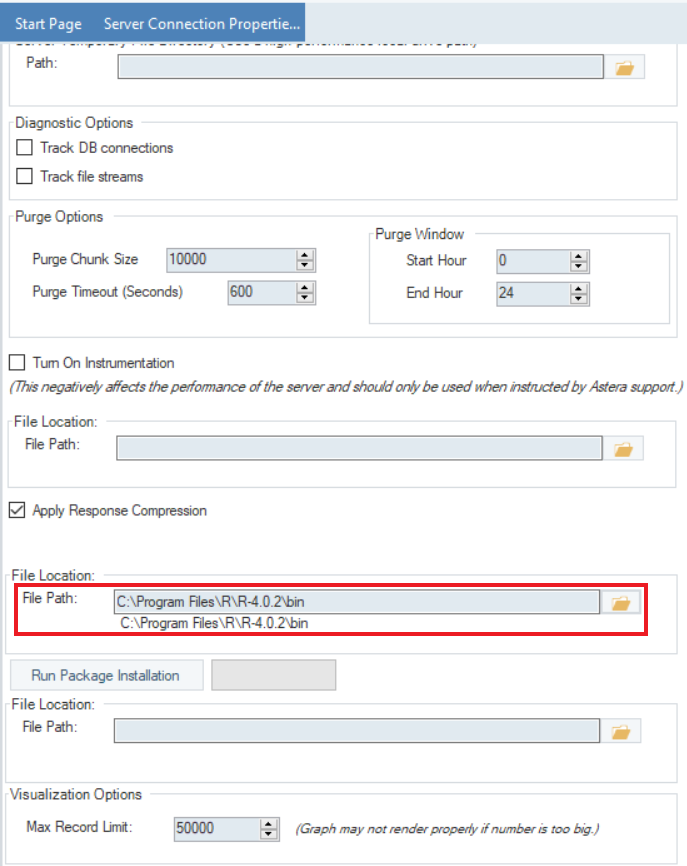
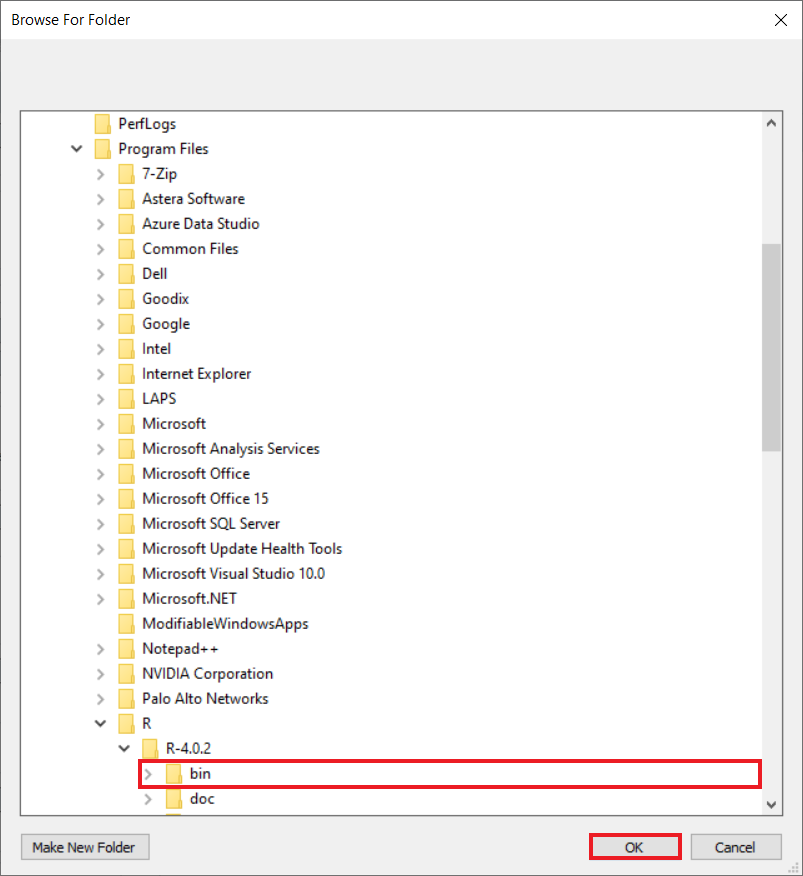
Alternatively, you can also click on the folder icon on the right and select the bin path from the directory.
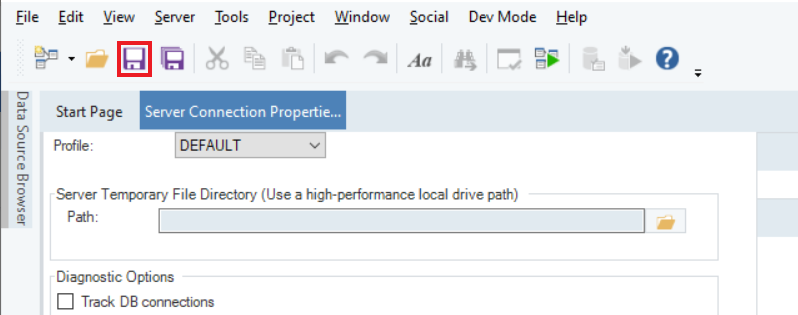
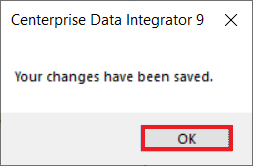
6\. Click on the *Save* icon in the secondary menu bar to save the changes made in the Server Connection Properties tab.
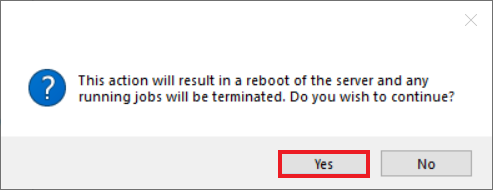
7\. It will prompt you to reboot the server. Click *Yes,* and then click *OK.*
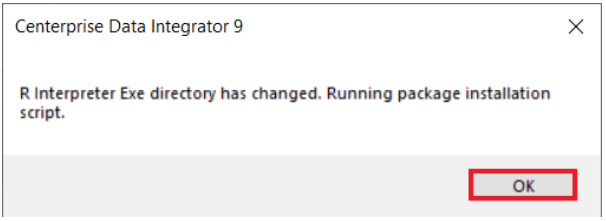
8\. Click *OK* to start the installation of the packages.
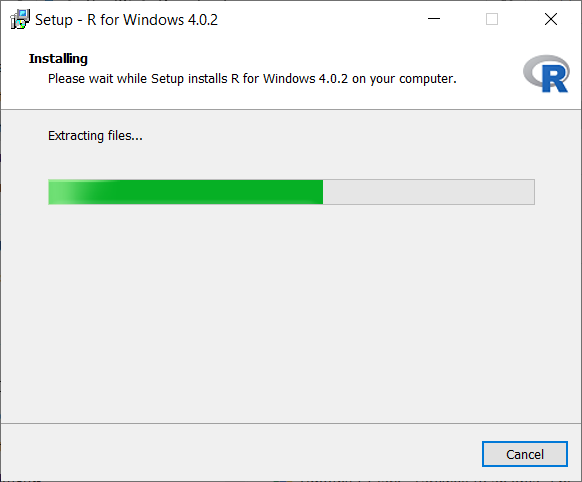
9\. A green bar will show the installation progress. Wait till it is complete.
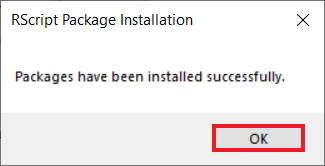
10\. Once the installation is completed, a dialogue box will pop up, notifying you that the installation was successful. Click *OK.*
You have successfully integrated R-4.0.2 with your Astera client.