Record Level Log
A Record Level Log captures the status (Success, Error, Warning, or Skip) for each of the records transferred, and includes snapshots of the source record and the destination record. It also provides additional details, such as error messages.
You can have any number of record level logs on the dataflow. Each record level log will collect the status of the records in the object that it is connected to.
In this document, we will learn how to use Record Level Log object in Astera.
Using Record Level Log
In this case we have a simple dataflow performing a data quality check process. It contains a Customers dataset stored in an Excel Workbook Source. Then, a Data Quality Rule is applied to validate data for error and warning checks and finally, data is written to a Database Table Destination.
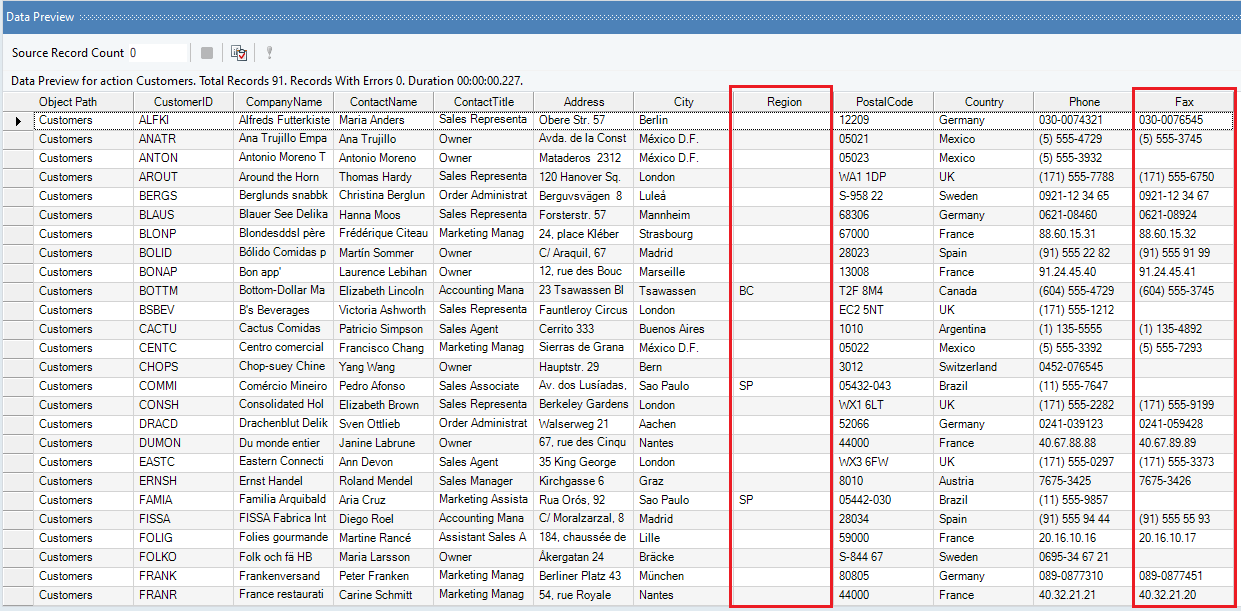
If you Preview Output for the Customers dataset, you will see that some of the records for the Region and Fax fields are empty.
A Data Quality Rule is applied to identify null records in the Region field as errors, and empty records in the Fax field as warnings. Upon previewing its output you will see that the records that failed to match the rule have returned an error, denoted by a red warning sign.
If you hover on these warning signs, it will show you the error message.
Now, when we run this dataflow we want to know of records which passed the validation check, records that failed the validation check, records containing errors and records that ended in only warnings.
For this purpose, we will use Record Level Log.
Configuring a Record Level Log Object
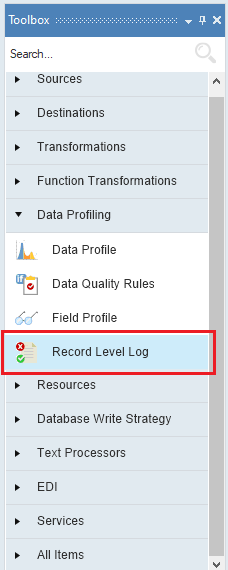
To get a Record Level Log object from the Toolbox, go to Toolbox > Data Profiling > Record Level Log. If you are unable to see the Toolbox, go to View > Toolbox or press Ctrl + Alt + X.
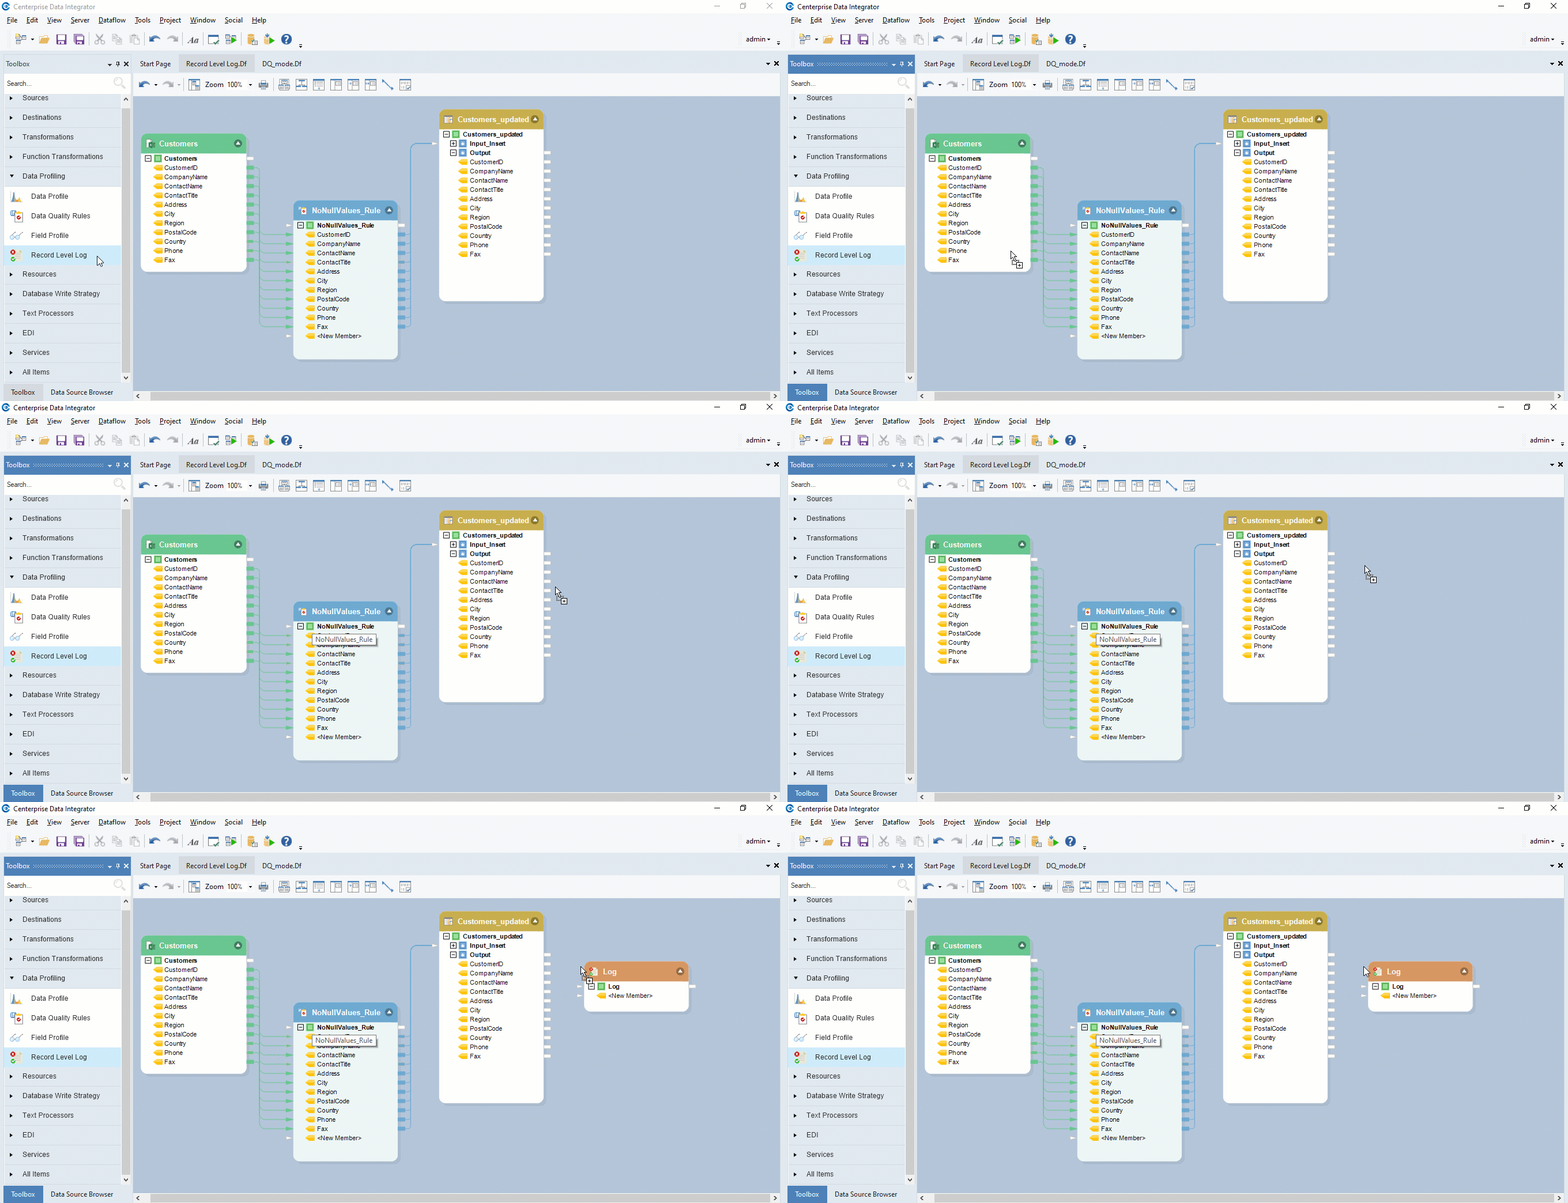
Drag-and-drop the Record Level Log object onto the dataflow designer.
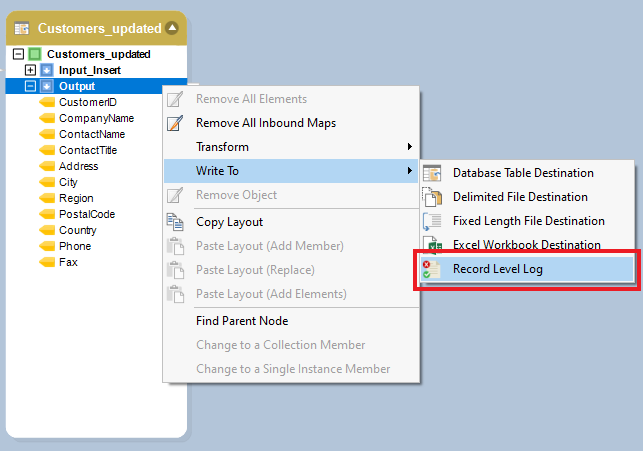
Another way to get Record Level Log object is to right-click on the Output node inside Database Table Destination and go to Write to > Record Level Log
You can see that the dragged Record Level Log object is empty right now. This is because we have not mapped any fields to it yet.
Auto-map the fields from the source object to the Log object.
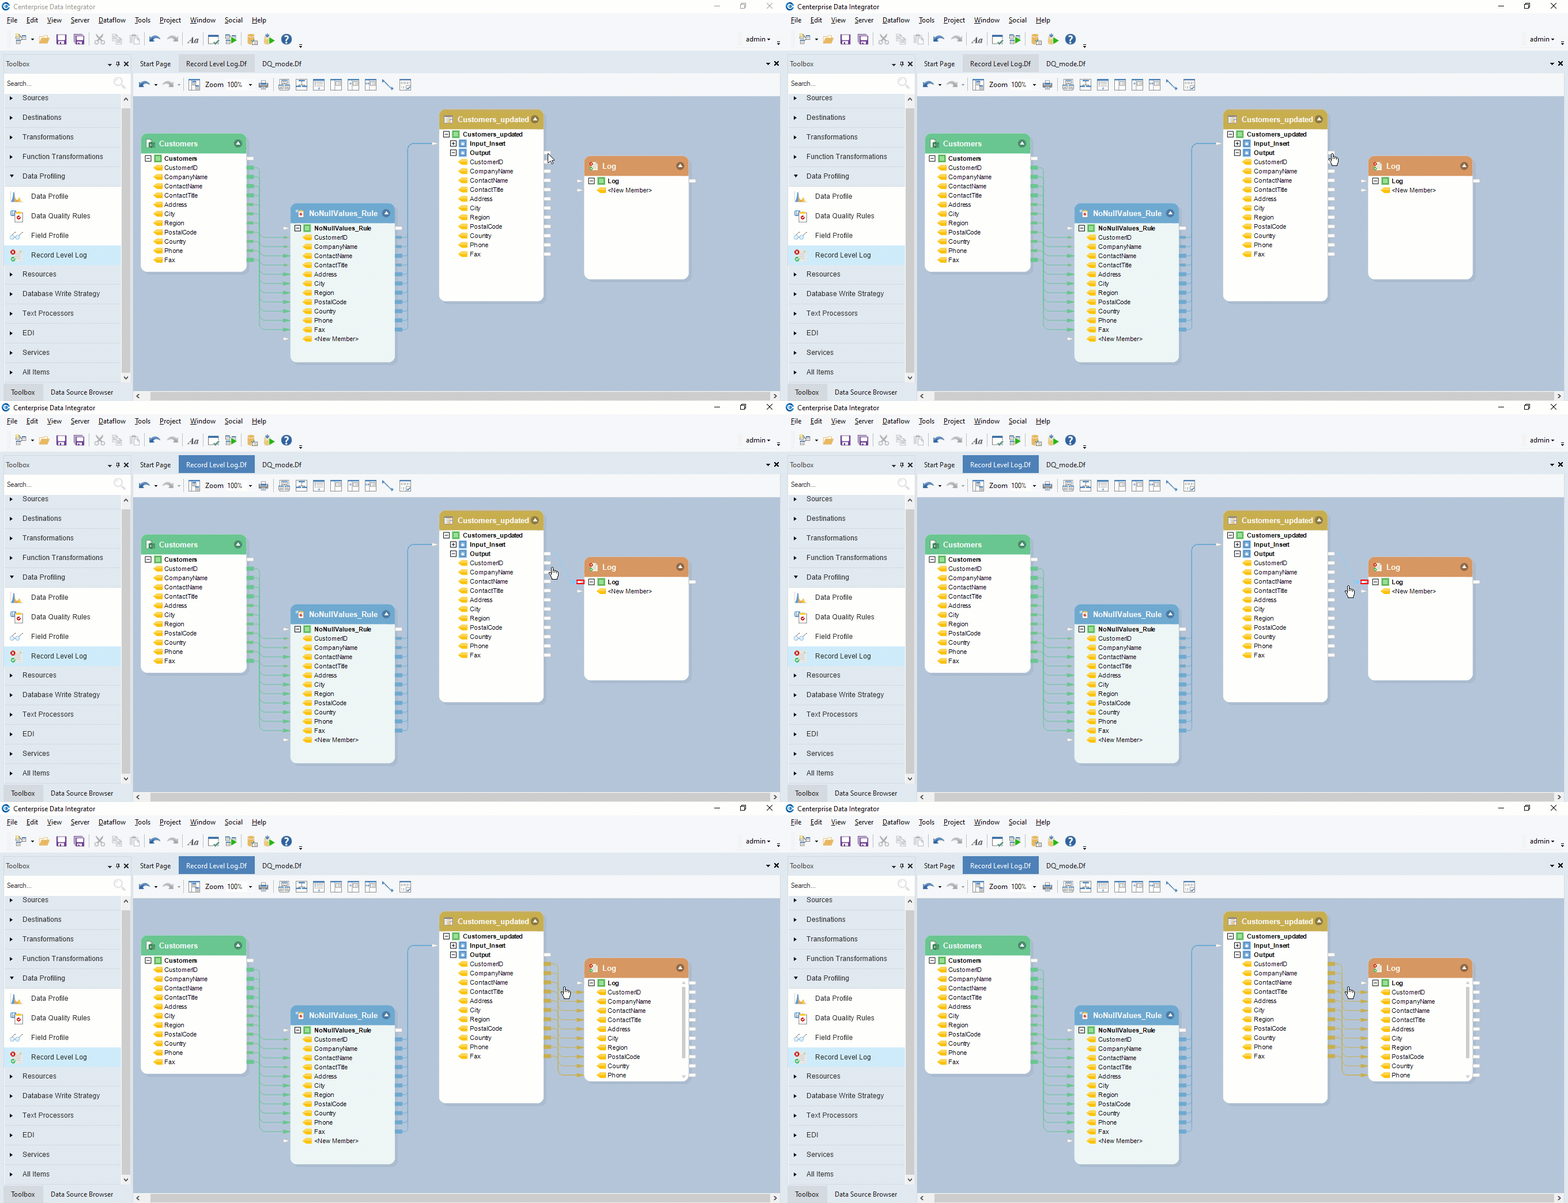
To configure the Log object, right-click on its header and select Properties from the context menu.
A configuration window will open. The first window you will see is the Layout Builder window. This is where we can create or delete fields, change their name and data type.
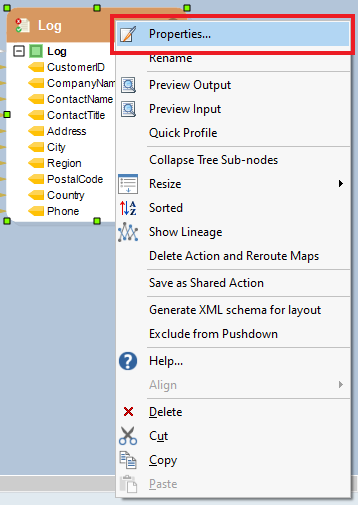
Click Next, and you will be directed to a Properties window where you can configure settings for creating the log file.
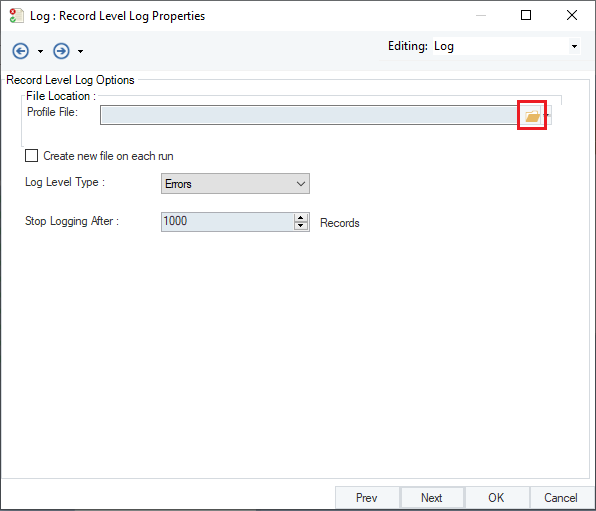
Specify the Profile File path where Astera will save this log file. Log files are saved with .prof extension.
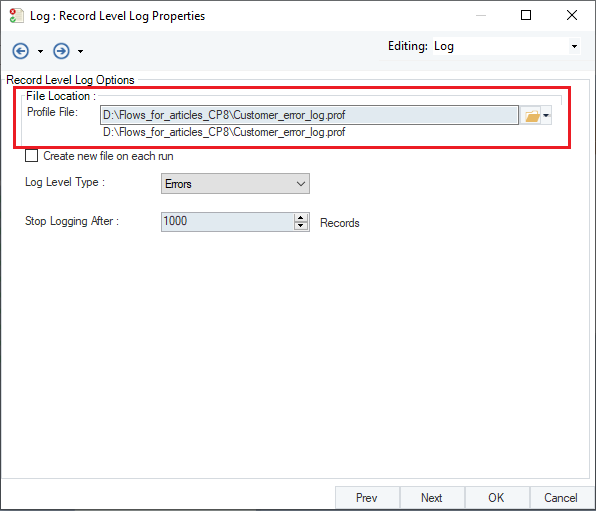
Specify the Log Level Type from the dropdown list.
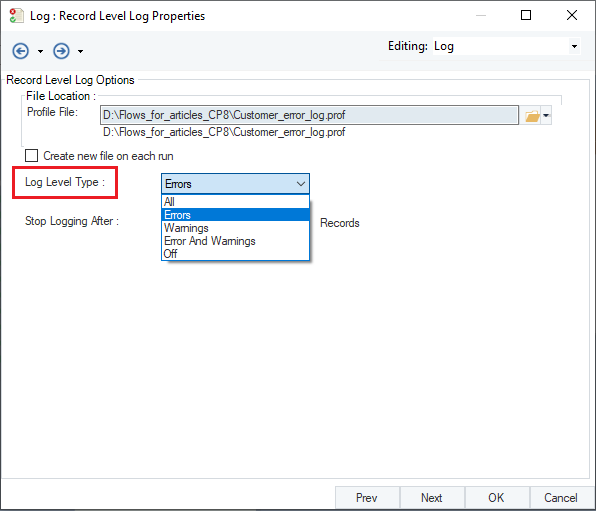
All – all records (including Success records) are logged
Errors – only error records are logged
Warnings – only warning records are logged
Errors and Warnings – both error and warning records are logged
Off – no logging
In this case, we will select Errors and Warnings as our log type.
Stop Logging After … Records with Errors – allows you to limit excessive logging by setting a cap on the maximum number of errors to be logged. The logging stops after the cap has been reached.
The default value is 1000 errors.
Click OK.
Executing The Task
After configuring settings for the Log object, click on the Start Dataflow icon
from the toolbar located at the top of the window. A Job Progress window will open at this instant and will show you the trace of the job.
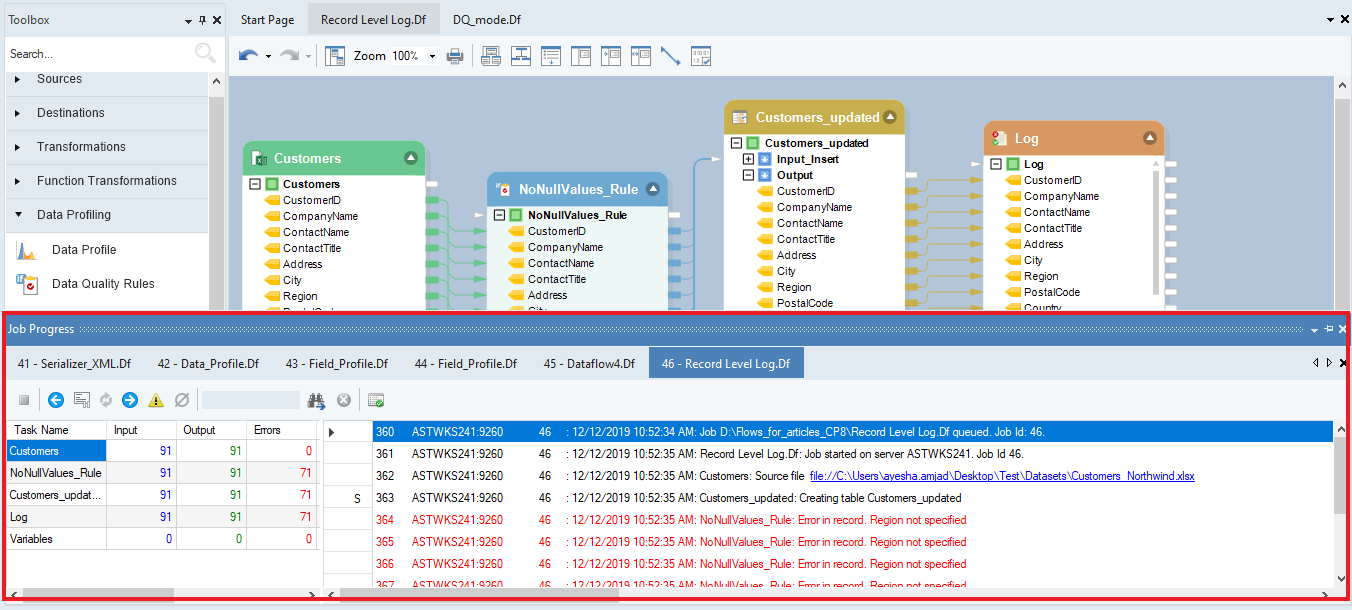
Click on the log file link provided in the Job Progress window.

Record Level Log will open in Astera showing you the status of logged records.
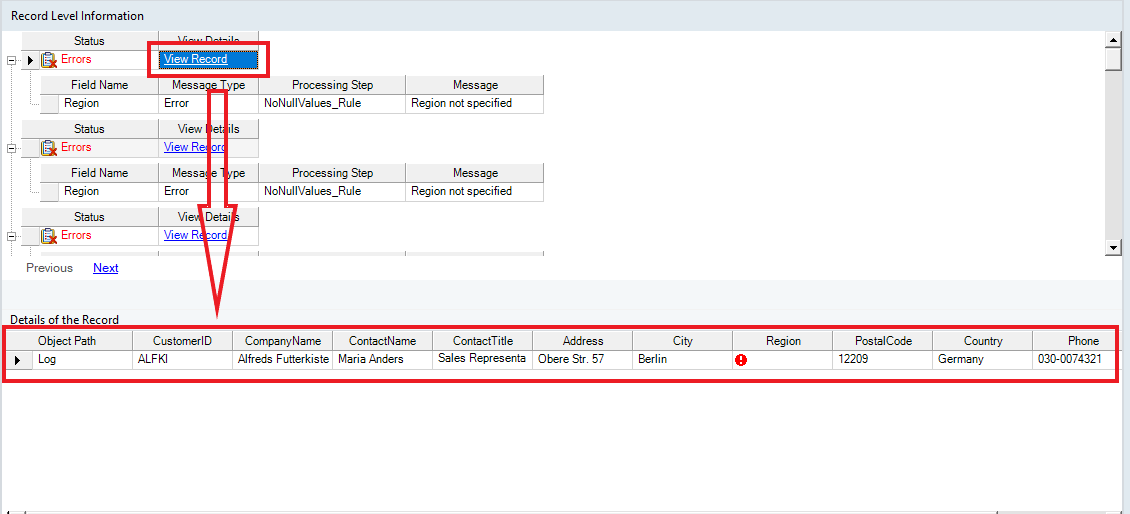
Astera stores the error logs in XML format and if you expand each record, it will give you the Field Name to which the error/warning message was attached, the Processing Step of data check that resulted in the errors, as well as the error Message.
If you click on View Record, Astera will show you the field values of the record failing the data quality rule.
Was this helpful?