EDI Source File
Overview
The EDI Source File object allows users to ingest EDI (Electronic Data Interchange) files into Astera's Dataflow designer. The EDI Source File object in Astera supports all versions of the X12, EDIFACT and HL7 dialects. This documentation details how to configure the EDI Source File object, including specifying file paths, using partner profiles, and parsing transactions.
Getting the EDI Source File Object
In this section, we will cover how to get an EDI Source File object on the Dataflow designer.
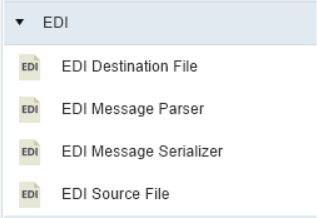
To get an EDI Source File object from the Toolbox, go to Toolbox > EDI > EDI Source File. If the Toolbox is not visible, go to View > Toolbox or press Ctrl + Alt + X.
Drag-and-drop the EDI Source File object onto the designer.
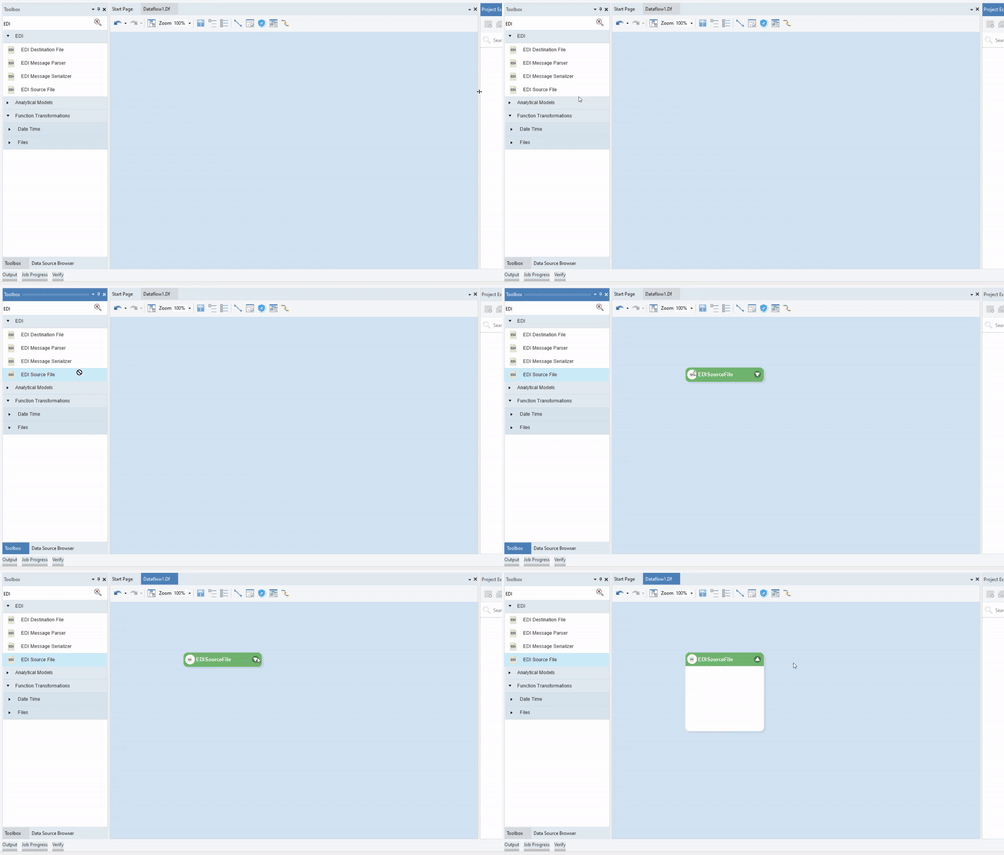
The dragged source object is empty right now. This is because it has not been configured yet. We will discuss the configuration properties for the EDI Source File object in the next section.
Configuring the EDI Source File Object
To configure the EDI Source File object, right-click on its header and select Properties from the context menu.
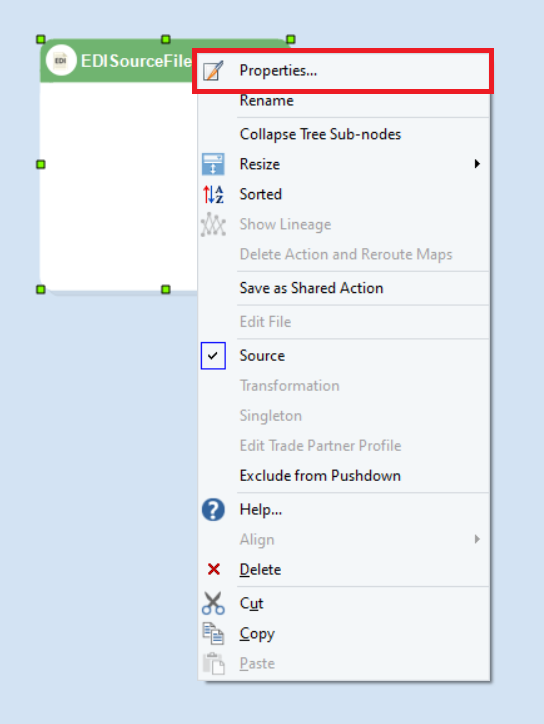
As soon as we select the Properties option from the context menu, a dialog box will open.
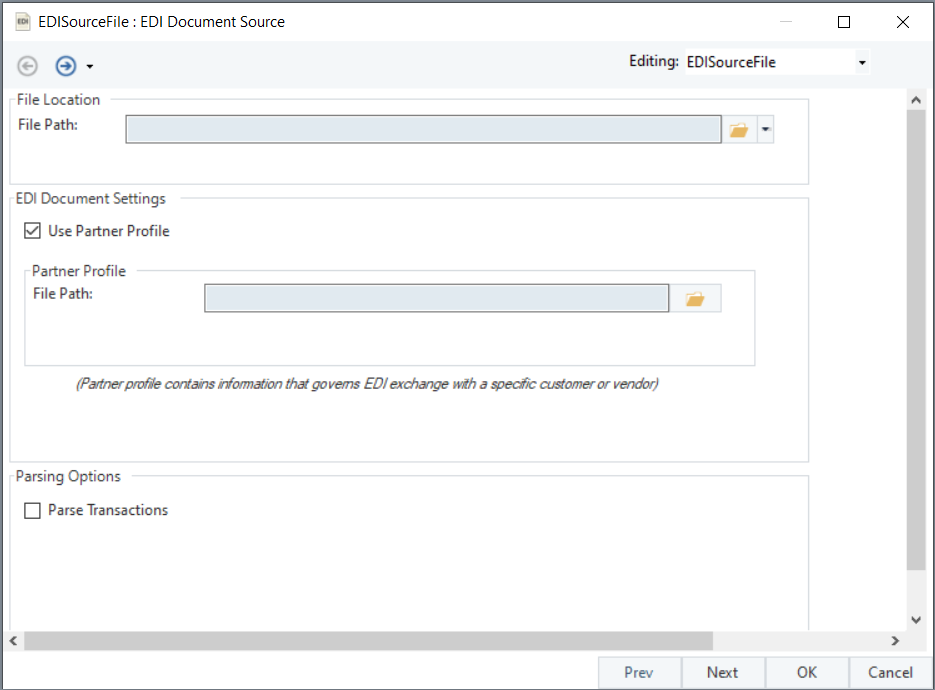
This is where we can configure our properties for the EDI Source File.
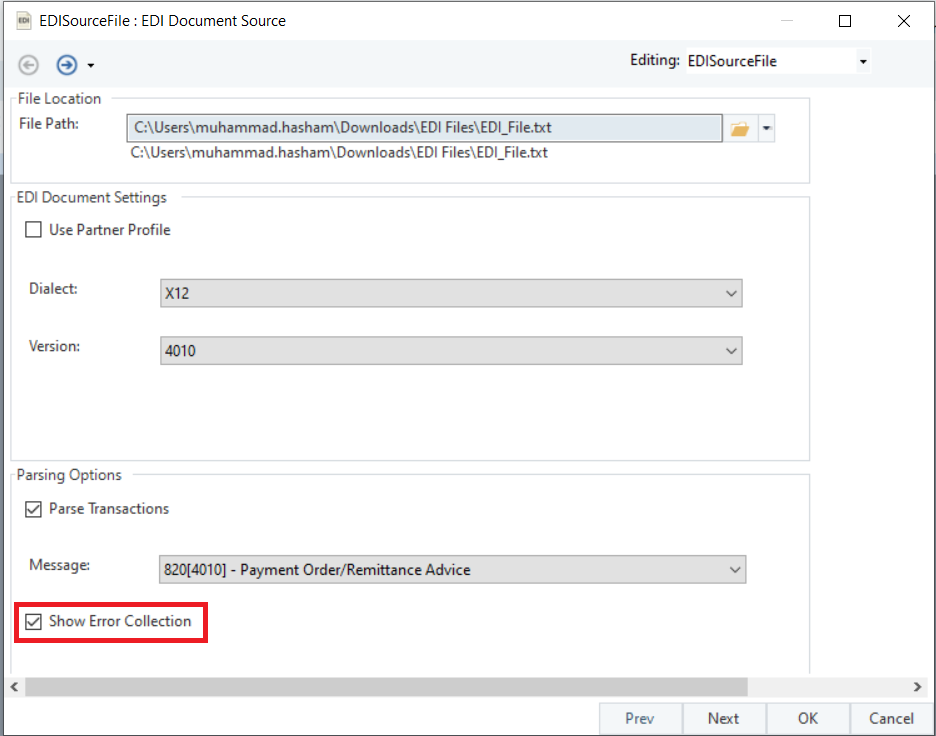
The first step is to provide the File Path for the EDI Source File. By providing the file path, we build connectivity to the source EDI file.
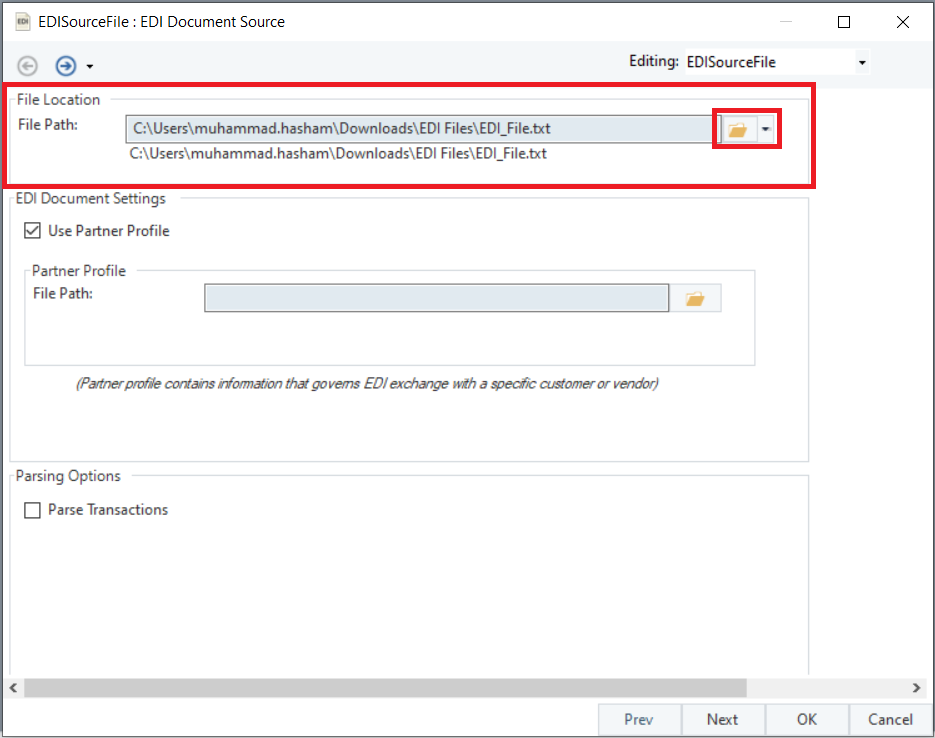
Next, we configure the EDI Document Settings. To do this, we can either use a Partner Profile file or manually configure which Dialect and Version we are using.
To use the Partner Profile file (.Tpp), we first check the Use Partner Profile option. Next, provide the File Path for the Partner Profile file.
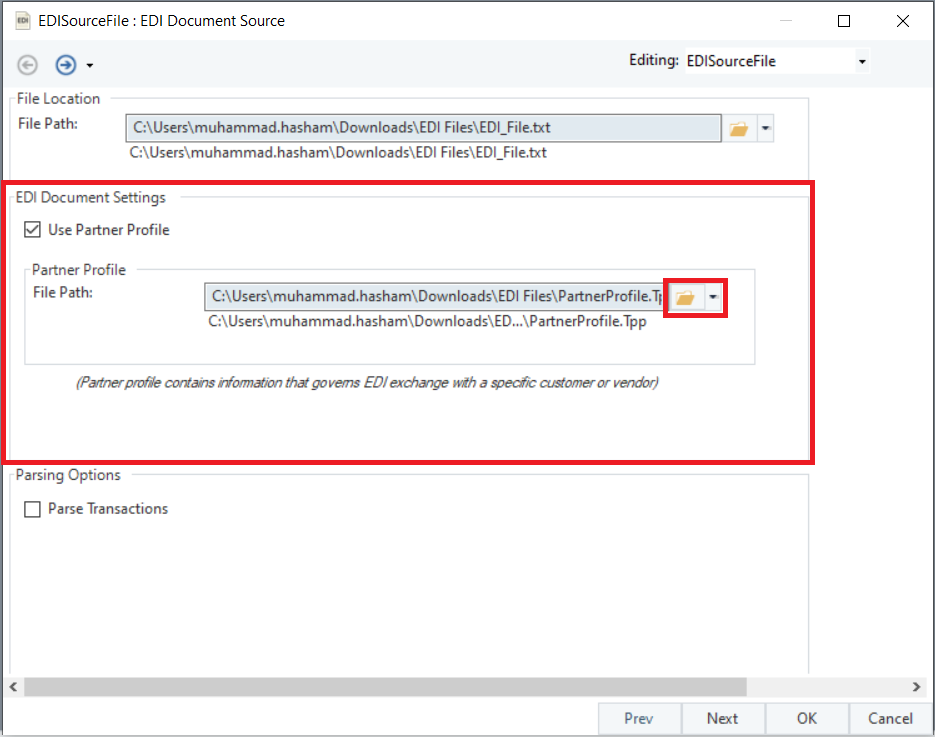
Once this is configured, the EDI Source File object uses the dialect and version information from the Partner Profile file in order to parse the source file.
In the scenario where we do not have a Partner Profile file, we can also manually configure the Dialect and Version of the EDI Source File. To do this, we uncheck the Use Partner Profile option.
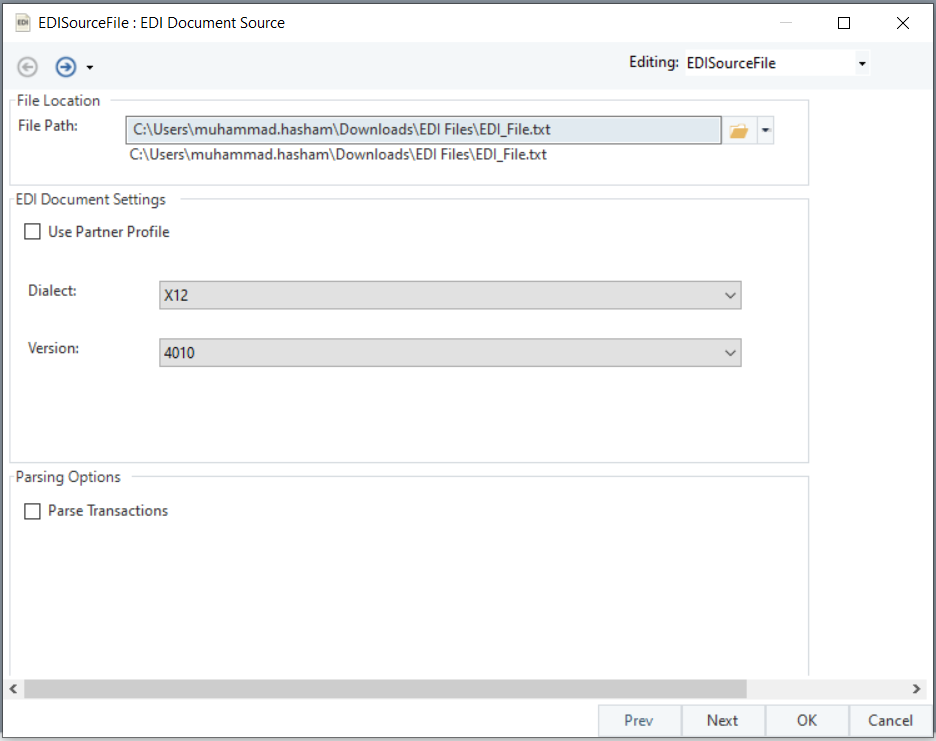
This then opens two dropdown options. By default, the EDI Source File object automatically detects the dialect and version of the file. However, this can be altered, if needed.
In case the dialect needs to be changed, the Dialect dropdown option is used to select the dialect of the EDI file. Astera currently supports the X12, EDIFACT and HL7 dialects.
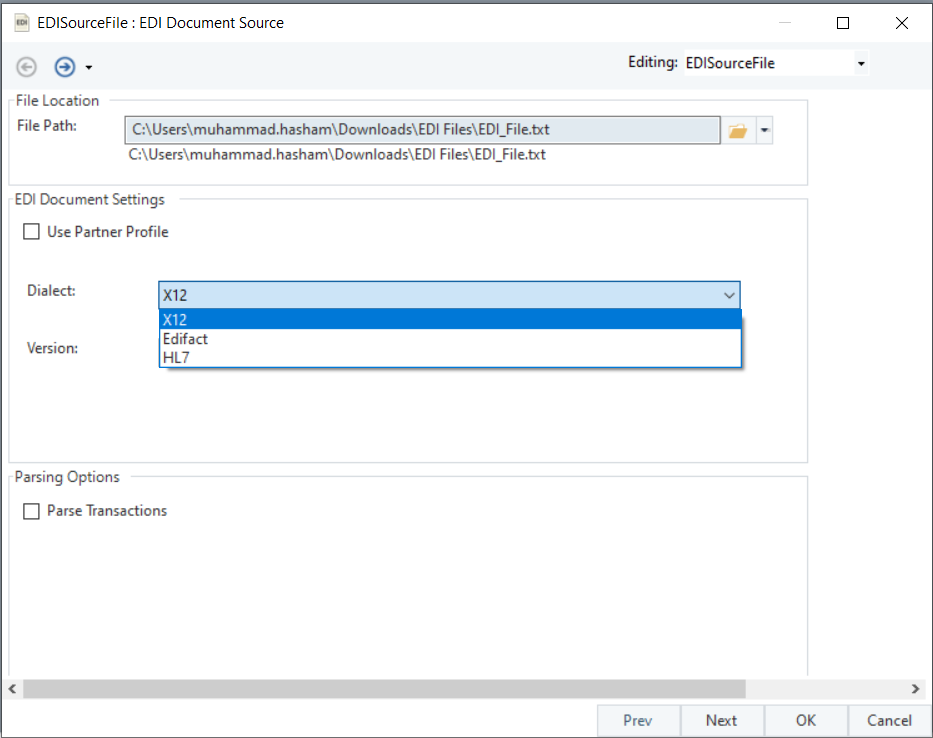
In case the version needs to be changed, the Version dropdown allows us to choose the version of the selected dialect that applies to our EDI file. The version dictates the structure and interpretation rules for the EDI document.
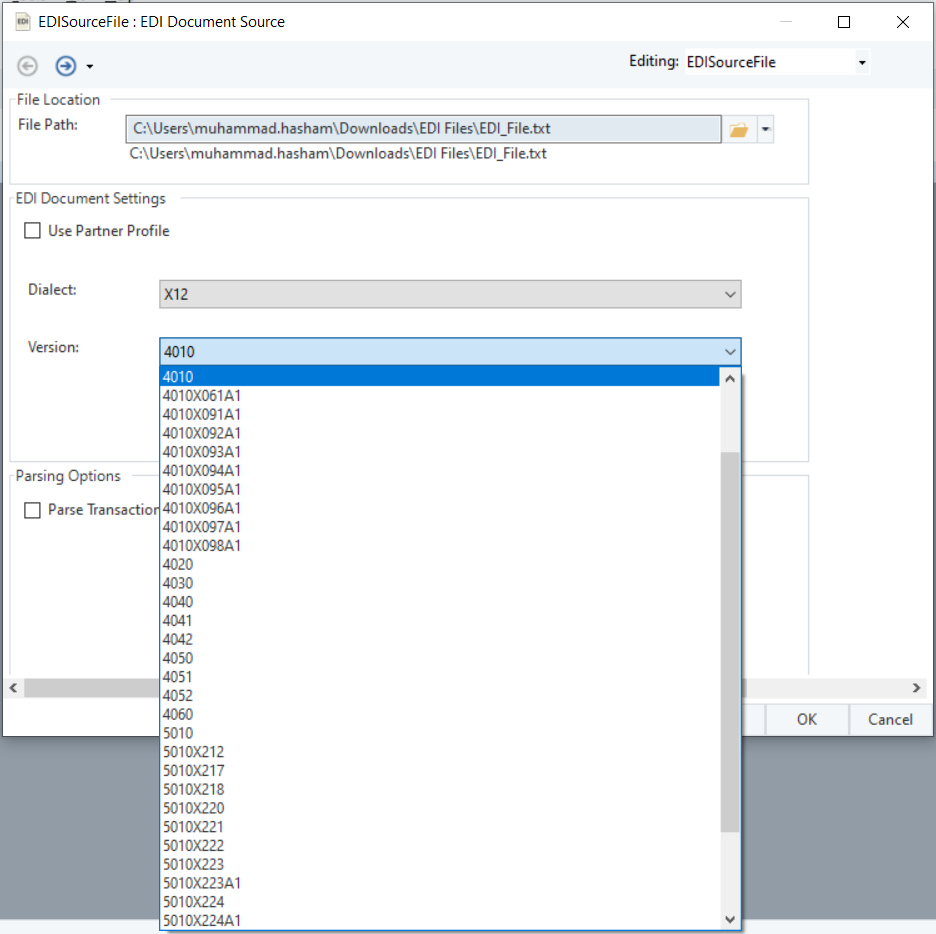
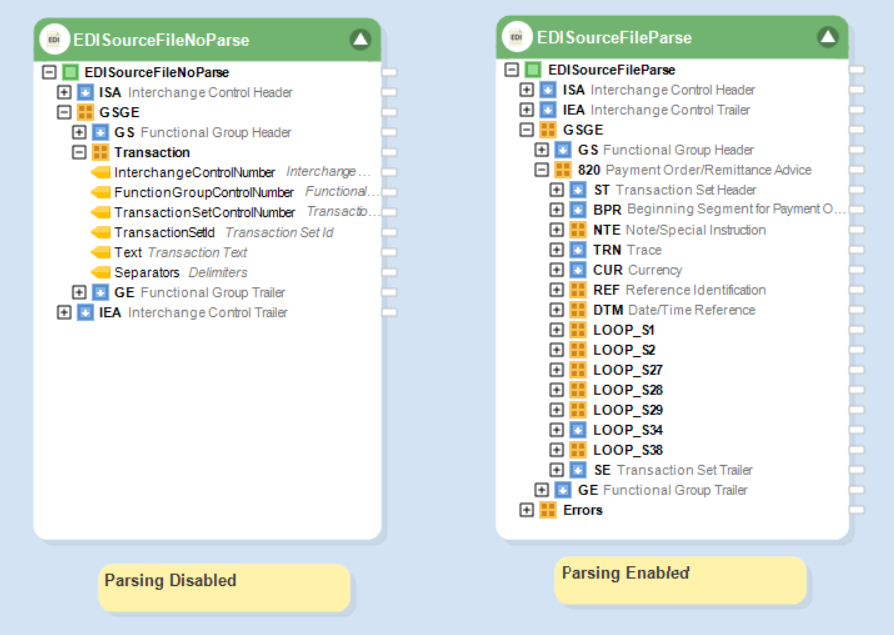
Astera provides the option to both parse our EDI file within the source, or parse it separately using an EDI Message Parser object. If we do not check the Parse Transactions option, then we will need to attach the EDI Message Parser object in order to parse the source file.
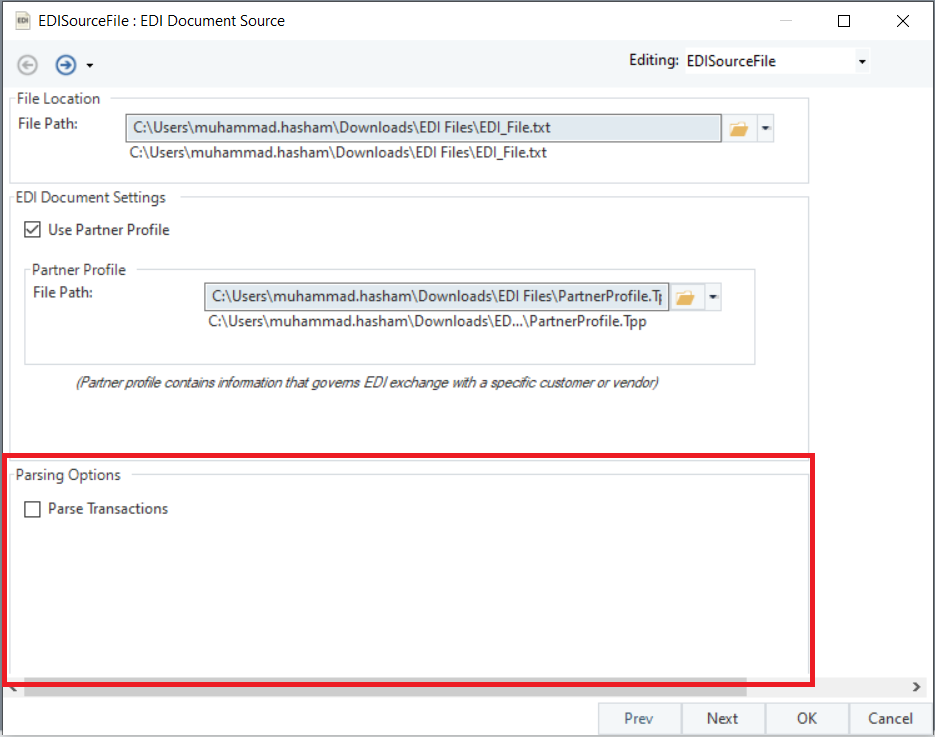
If we want to parse our EDI File within the EDI Source File object, we will go to the Parsing Options and check the Parse Transactions option.
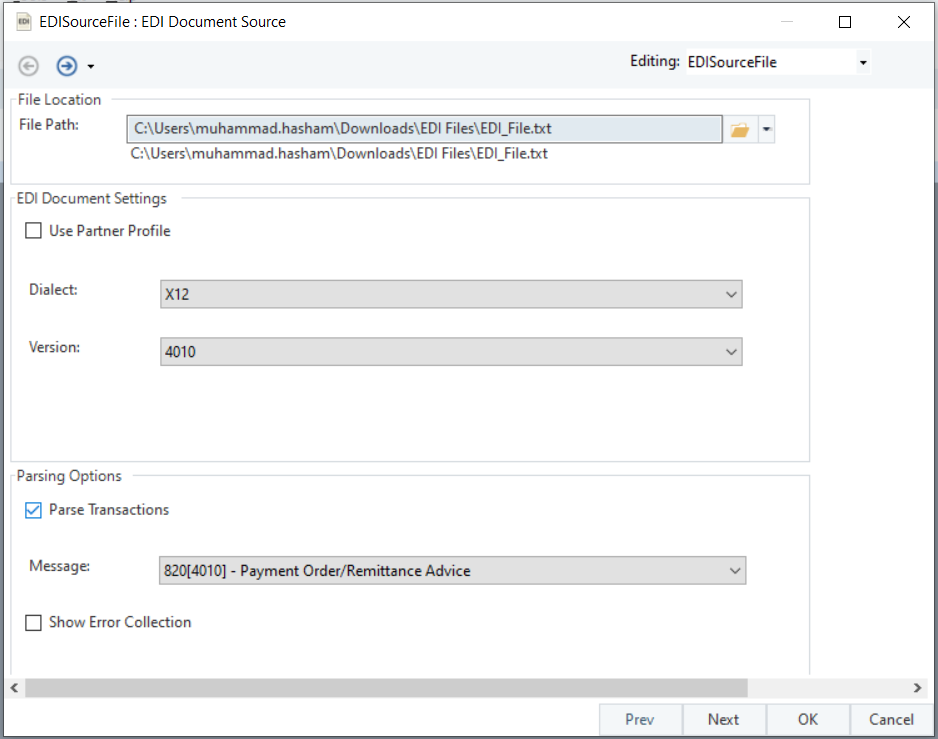
Once checked, we can configure some extra options in order to parse the EDI file.
Message – Indicate the specific message type of the EDI file. This is typically a code that specifies the kind of transaction contained in the file. An example is the 850 for purchase orders in the X12 dialect. By default, the message is automatically detected from the file and the Message option is set accordingly. However, if want to change the message type, it can be altered by selecting the required option from the dropdown menu.
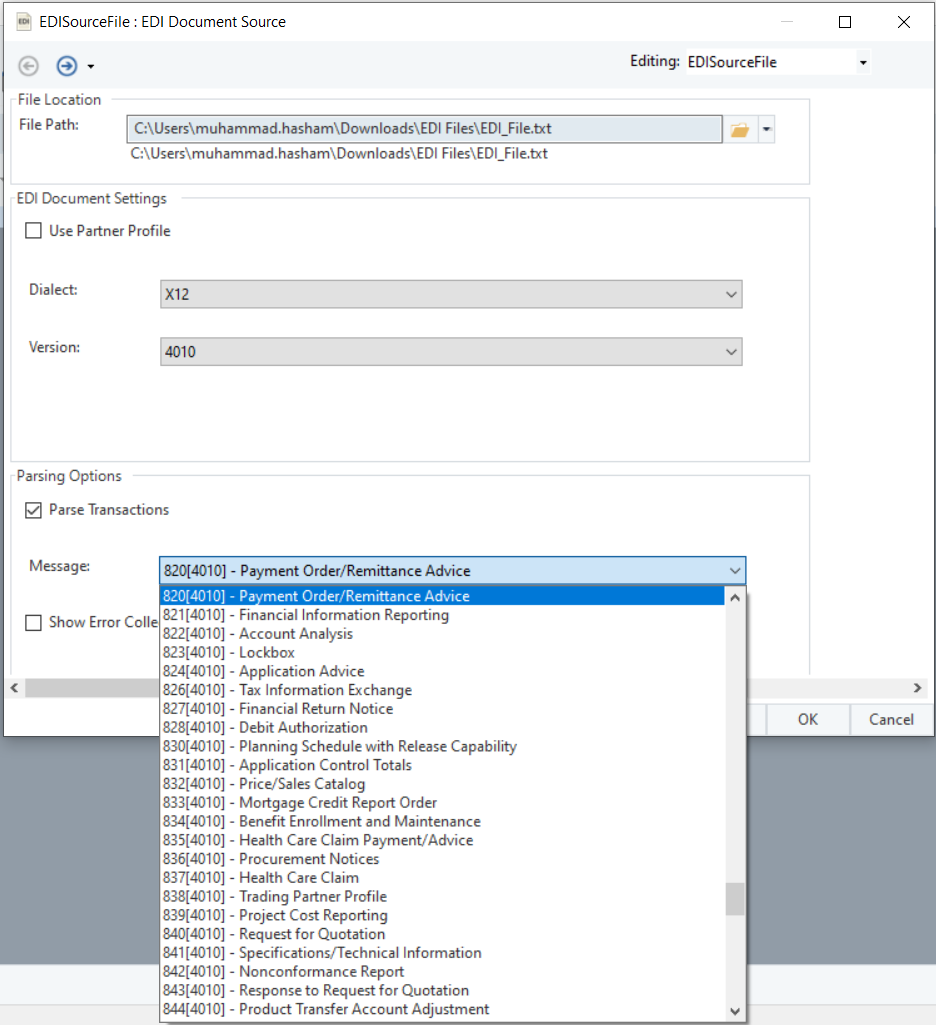
Show Error Collection – Enable this option if you want the system to collect and display errors encountered while parsing the EDI file. It is a useful feature for debugging and ensuring the integrity of the data ingestion process.
Once the object has been configured, we will click Next. We will be taken to a new window, Config Parameters. Here, we can further configure and define parameters for the EDI Source File.
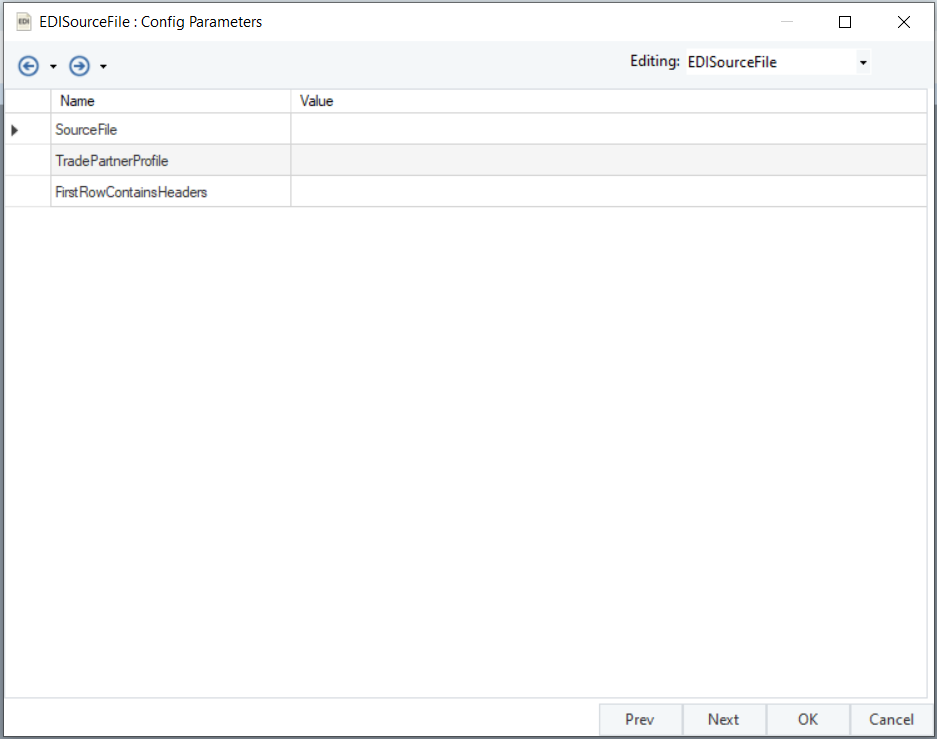
Parameters can provide easier deployment of flows by eliminating hardcoded values and provide an easier way of changing multiple configurations with a simple value change.
Once we have been through all the configuration options, we will click OK.
The EDI Source File object is now configured according to the changes made.
We can preview the data within the EDI Source File object by right clicking the header and selecting the Preview Output option.
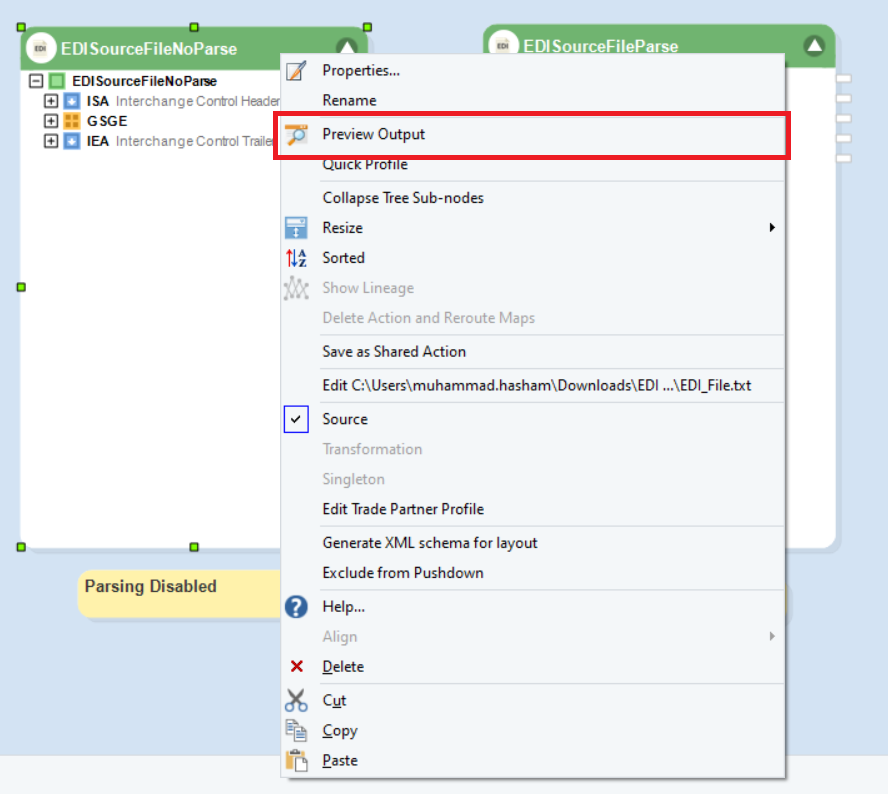
This shows us the data preview for the EDI Source File object, allowing us to view the EDI source file’s data in hierarchical format.

This concludes using the EDI File Source object in Astera.
Was this helpful?